Tag: die-cutting

  • Around the World on Wednesday: Playing with Sand

    Today the artists from the Around the World on Wednesday crew are enjoying a little sand!
    We are left to our own devices to decide how and I didn’t have too much trouble deciding that I would get out my sanding block.

    Awhile back I experimented with using sanding blocks to roughen up some metallic paper when I was using the Gears & Textures bundle and wanting the gears to look worn instead of shiny and new. This week I went back down that road to try some other ideas I’ve had rumbling around in my head. One idea was mixing the feminine scallops from the Scalloped Blooms Bundle with the more masculine Gears & Textures.
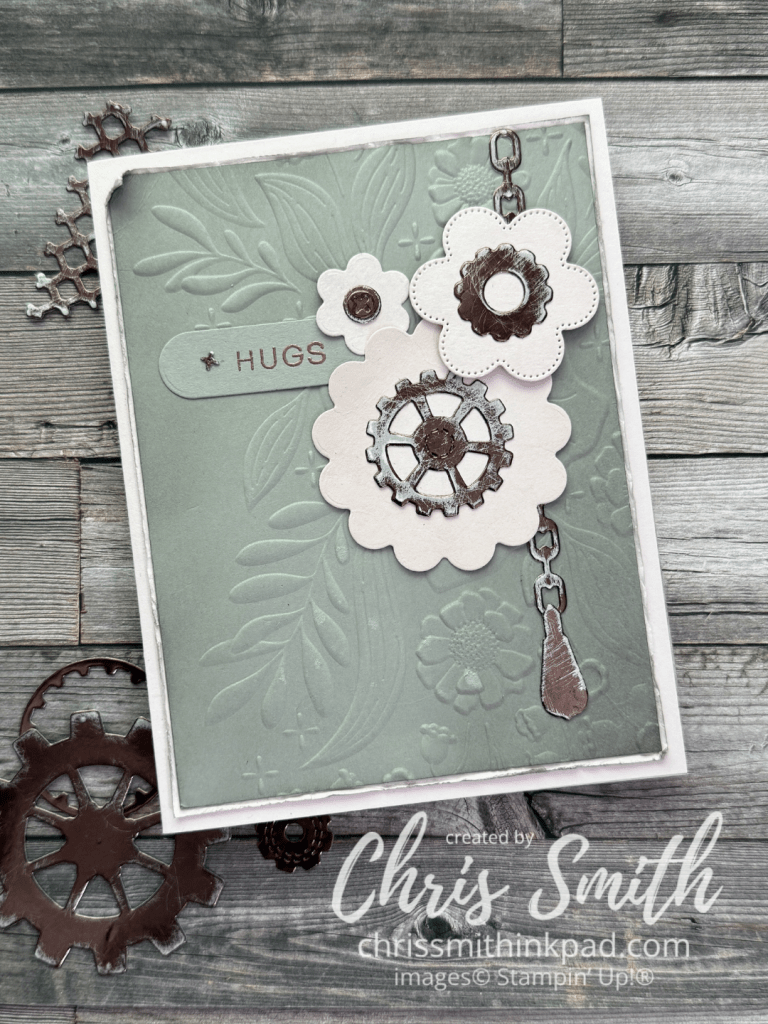
    1. I had trouble getting the Barely Blush and Gray Granite in the card to come through right in this photo but I love the way they worked together with the Earthen Toned Metallic – in real life!
    2. I lightly brushed Gray Granite ink onto the Gray Granite layer (3 7/8″ x 5 1/8″)before embossing it with the Floral Spray Embossing Folder. That piece is layered onto a 4″ x 5 1/4″ piece of Barely Blush before I roughened up the blush with my fingernail. I gave the edges another quick brushing of Gray Granite ink before rolling one corner and attaching it to a A2 (4 1/4″ x 5 1/2″) Barely Blush card.
    3. The scallops/flowers are die cut from Barely Blush with the Scalloped Blooms dies and brushed ever so slightly with the same color of ink.
    4. Most of the gear pieces were sanded as loose pieces but the chain was done in the negative piece that was left after making the die cuts. If you look closely you can see that the edges of the chain are more defined with the original Earthen Toned color. The others are more worn appearing at the edges.

    Here is one that started with a piece of shiny gold metallic paper.
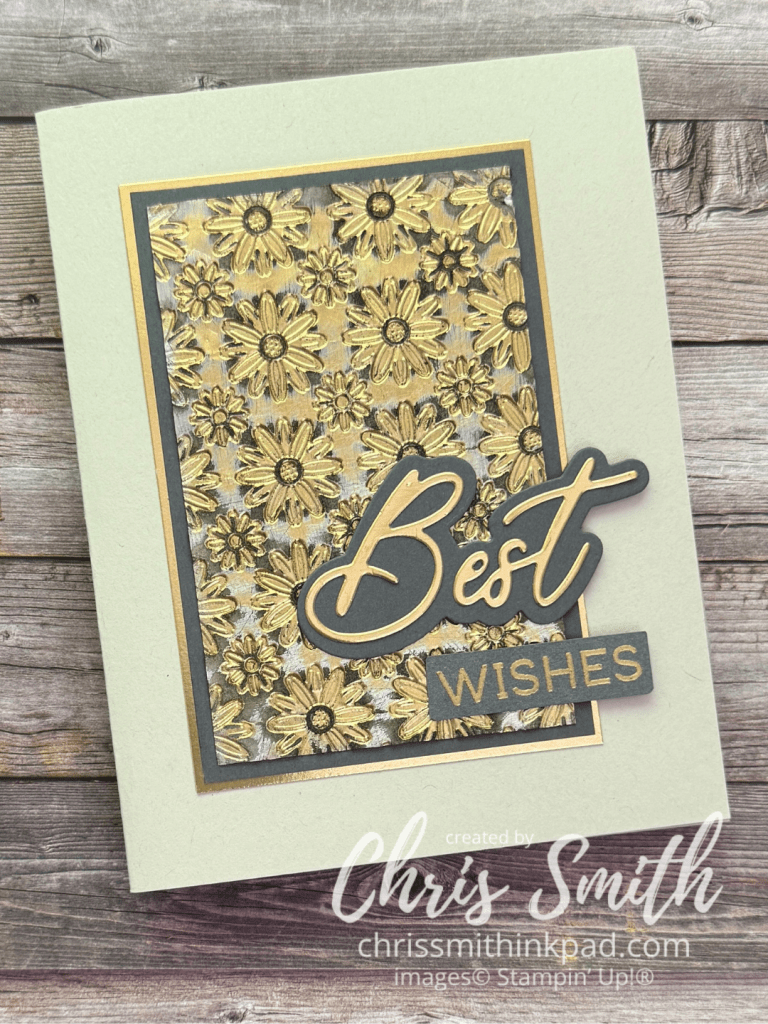
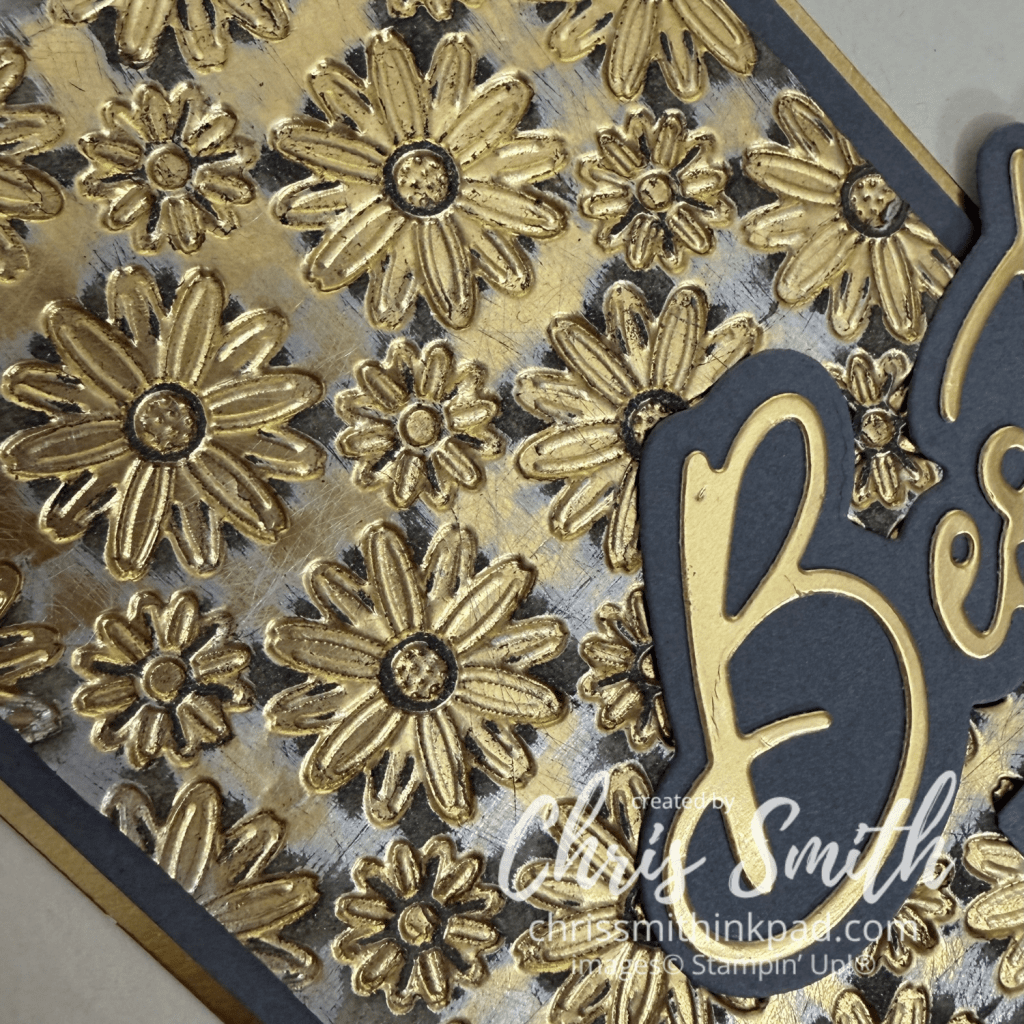
    1. I didn’t know what this would look like until I created the background piece but once I saw the way the pattern and colors work together I thought I would turn it into a card that was a little sophisticated and celebratory, like for a older couples wedding or maybe a retirement. You can see in the close-up at the top of the post that the piece shows gold that is roughened but not sanded off, a silver-ish color beneath it and then Basic Gray which is where I sanded down to white, uncoated paper that didn’t resist the ink like the gold and silver did.
    2. I think it is good to vary the width of your layers if you use more than 2. The Basic Gray border is 1/8″ while the unhanded gold metallic border is 1/16″. Actual Measurements: 2 1/2″ x 3 7/8 of embossed pattern, 2 3/4″ x 4 1/8″ of Basic Gray; 2 7/8″ x 4 1/4″ of unsanded Gold Metallic Paper
    3. When I have a design that won’t have an even border around the card I usually try to line it up so that the distance from the top and the sides of the card is the same with more space on the bottom. This time, since I knew that the words would extend towards the right edge, I made sure the left, top and bottom were equal distance and there was a little more room on the right.
    4. I like mixing the die cut words with stamped words from the Words & Wishes Bundle.
    5. I often just barely snip off the corners when I have a hand trimmed greeting such as “wishes”, just to slightly soften the edges. This time I also used my sanding block to smooth all the edges of this piece down. I’ll be using that trick again!

    I hope you try sanding some of your metallic paper scraps at your craft desk! Here are some ideas to keep in mind as you experiment:

    1. There are lots of tools you can use to sand, even emory boards, I found a nice sized, very slightly cushioned, block at the hardware store for just a few dollars.
    2. Try different types of metallic or coated paper. You may find multiple layers and can experiment with how many layers you actually want to go through.
    3. Think about what colors of ink you might like to apply. Something darker to emphasize the metal color or maybe something complimentary? Always brush loose paper/dust off your sanded piece so that you don’t transfer the paper dust to your ink pad. You may not realize it at first but your sanding block may accumulate dust too so it a good idea to brush that off a bit if you can.
    4. Vary the way you swipe the sanding block across the paper or die cut. You will get different looks with straight swipes compared to using a circular motion.
    5. You can apply ink with blending brushes, daubers, or even directly from the ink pad.
    6. Save the negative from making die cuts and place the cut pieces back into the negative before sanding to get a different look. This preserves the metallic look at the edges, sanding more on the top surface. Without the negative you usually get the most of the metallic coating off of the edge.
    7. For variety, use both sanded and unsanded metallics in your final card design.

    Now it’s time to check out what kind of sand the rest of our time got into. Next up is Bree Renwick:
    Leonie Stuart – AU

    Rochelle Laird-Smith – AU

    Kelly Taranto – US

    Chris Smith – US

    Bree Renwick – US

    Lori Willcox – CA

    Cheryl Hamilton – US

    Thanks so much for stopping by today. Please note that there is a gallery page index linked at the top of my blog. You can find samples from various Stampin’ Up sets and sometimes even techniques by checking the index. Chris
  • Around the World on Wednesday: This or That

    Can you believe it’s November already?

    This month’s Around the World on Wednesday Blog hop Theme is This or That: Wrapped in Gratitude taking special inspiration from the beautiful creations of team member, Sharon Burkert.

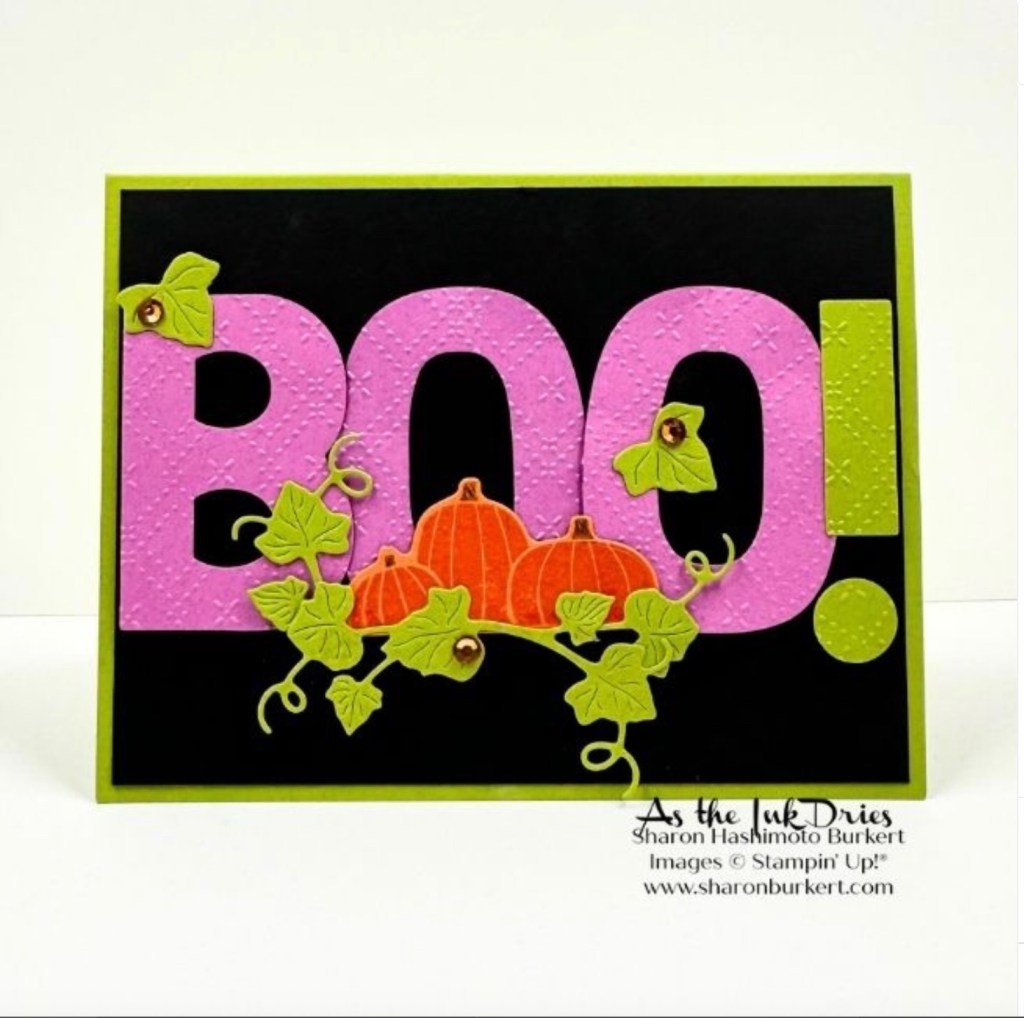
    I chose to take inspiration from this colorful Halloween card of Sharon’s that features the Party Alphabet Dies:

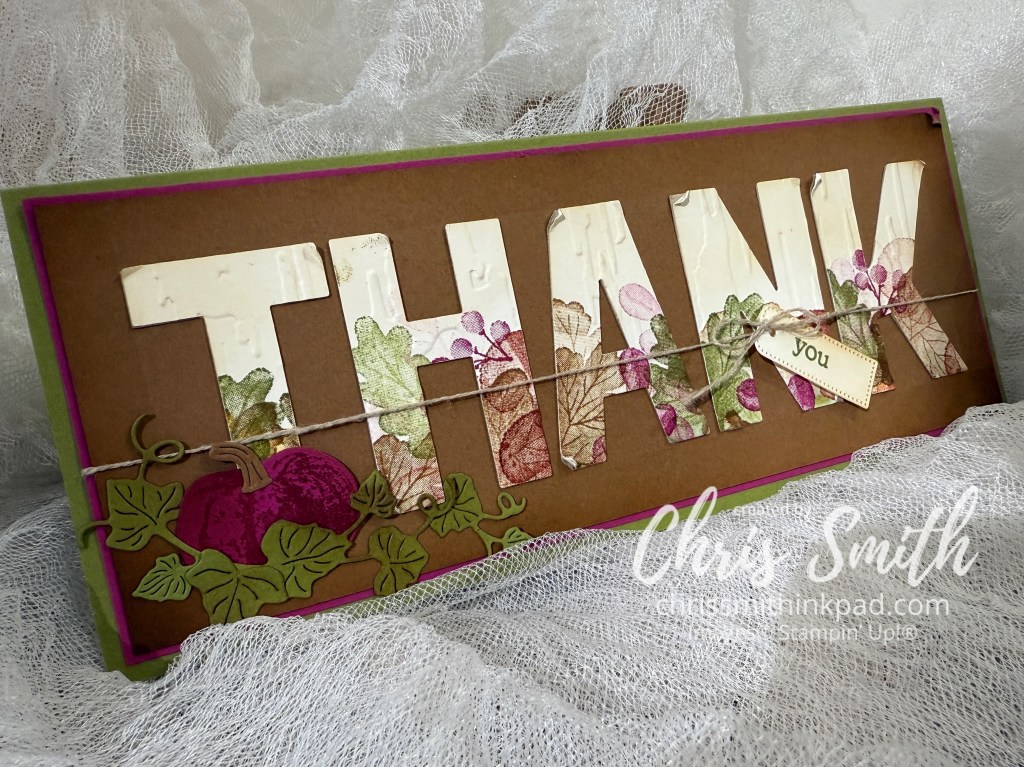
    The dies are new to me and I thought it would be fun to use the pumpkin and vine theme with them. Since I’m going for a fall gratefulness theme I worked with the big dies and Beautiful Pumpkin Bundle. I also used the Gathering Moments fall images and even pulled in a tag and greeting from the Layers of Beauty bundle. These are big dies, big enough to actually stamp on the die cuts. There are also so big that I knew my card would be a slim line card just to get the word “THANK” on it.

    • I started by stamping the rather fall like botanical images from Gathering Moments along one long side of a sheet of Very Vanilla card stock. I used Old Olive, Pecan Pie, Berry Burst. I wanted to pull in a darker echo of Sharon’s Petunia Pop and I like the way this puts a little twist on the more traditional colors. There is a bit of Cajun Craze with the mushroom image too.
    • The next time I try this I might just die cut the letters first and then stamp as I needed to add more images to the die cuts anyway.
    • Once I had the stamping on the letters done I put them all into Birch Wood embossing folder to add a bit of texture.
    • After trying a few embossed designs on the Pecan Pie layer, I decided this would look better just plain. I used a ruler to make a straight ledge to line up the letters and stated with the “A” in the middle and work out to the edges. After the fact I decided to push this a little more in the shabby chic direction by lightly brushing the letters with just a touch of Pecan Pie and roughing up the corners.
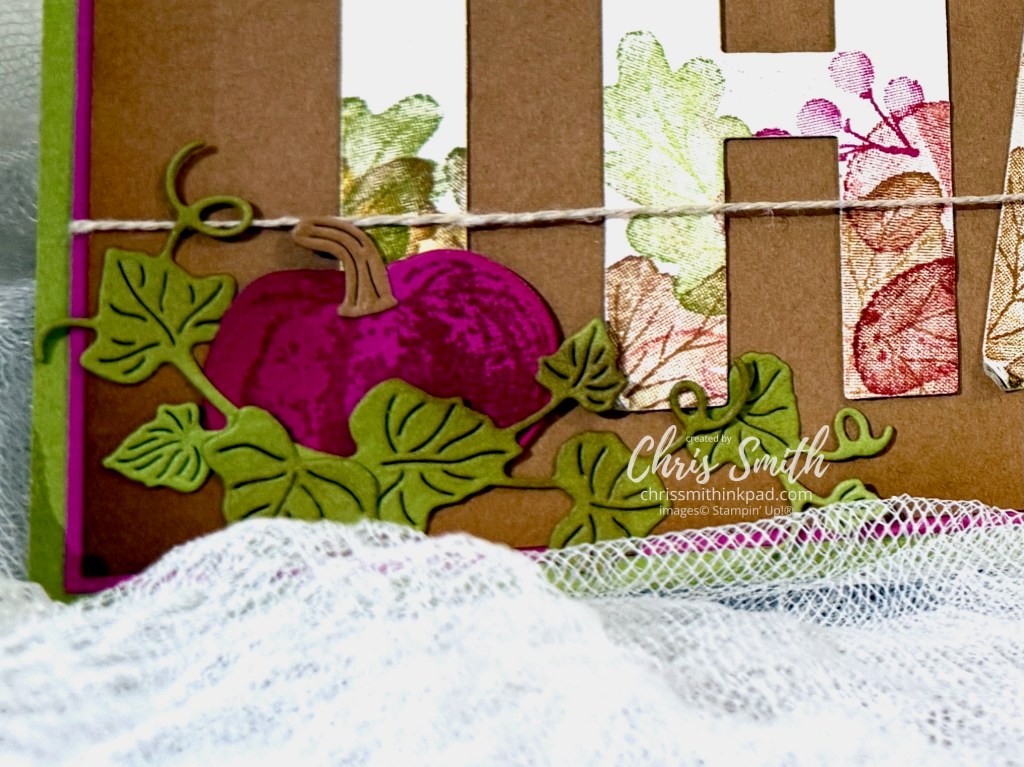
    • I tried adding a Pumpkin Pie or Cajun Craze pumpkin but in the end decided to play up the Berry Burst a little more. The image is stamped in Cajun Craze on Berry Burst card stock and then it was brushed with a little more Berry Burst after die cutting it. I like the vintage velvety look this gave it and actually ordered this bundle because I thought it would be fun to do some non-traditional pumpkins. The pumpkin vines/leaves were ie cut with Beautiful Pumpkins Dies out of Old Olive card stock and them brushed with a little Pecan Pie around the edges. Before attaching the Pecan Pie layer (3 1/4″ x 8 1/2″) to Berry Burst (3 3/8″ x 8 5/8″) I brushed those edges too.
    • Before attaching this all to the 3 5/8″ x 8 7/8″ Old Olive card baseI tied some linen thread around the THANKS layer and added a “you” tag made with the Layered with Beauty Bundle.

    Here is a close up of the pumpkin:

    This was a really fun first go at these alphabet dies and I look forward to playing with them again soon.

    I’m trying to prep for two back to back trips amid the uncertainty of US air travel right now so I ended up skipping my planned second card. – I was going tweak the colors for a less shabby chic look. But that means you get to move on to see what you will see with the others on this hop. I can’t wait to see what Teri West has in store for us.

    Jan Clothier – NZ
    Leonie Stuart – AU
    Rochelle Laird-Smith – AU
    Cheryll Miller – AU
    Danielle Kassing – NL
    Marga Bultena – NL
    Aurélie Fabre – FR
    Kelly Taranto – US
    Sharon Hashimoto Burkert
    Chris Smith – US
    Teri West – US

    Thanks so much for stopping by. I hope you enjoy the blog hop!

  • Big Blossom to Gathering Moments

    A new direction for blogging about ink

    Since early 2007 I’ve had a Typepad hosted blog – inkpad.typepad.com – which will be disappear on September 30, 2025 when Typepad closes operations. To date I have 999 posts over there. While it’s truly disappointing after so many years, when you consider that other atrocities people in our country and world are currently experiencing, I guess it’s really just small potatoes. I’ll save what I can and re-introduce some of my favorites here though I’m afraid the original links will be lost.

    In a way this kind of jives with where my stamping is heading anyway. I’m starting to refocus on old favorites in my stash and trying to resist trying every new thing. Don’t get me wrong, the new things tempt me but there are SO many older images and tools that I have loved and still want to explore. Let me know if you would like to see more ideas with old favorites too. This is really a practice post for me to get to know WordPress and see how this will all come together. Here is my very first blog post from January 3 2007: … and then a little more chatter


    JANUARY 03, 2007

    Bib Blossom WOW swap

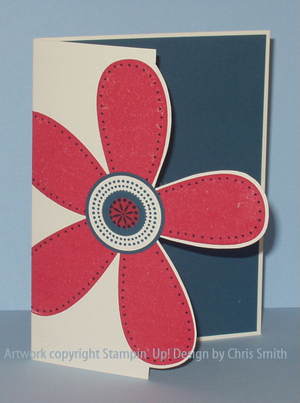
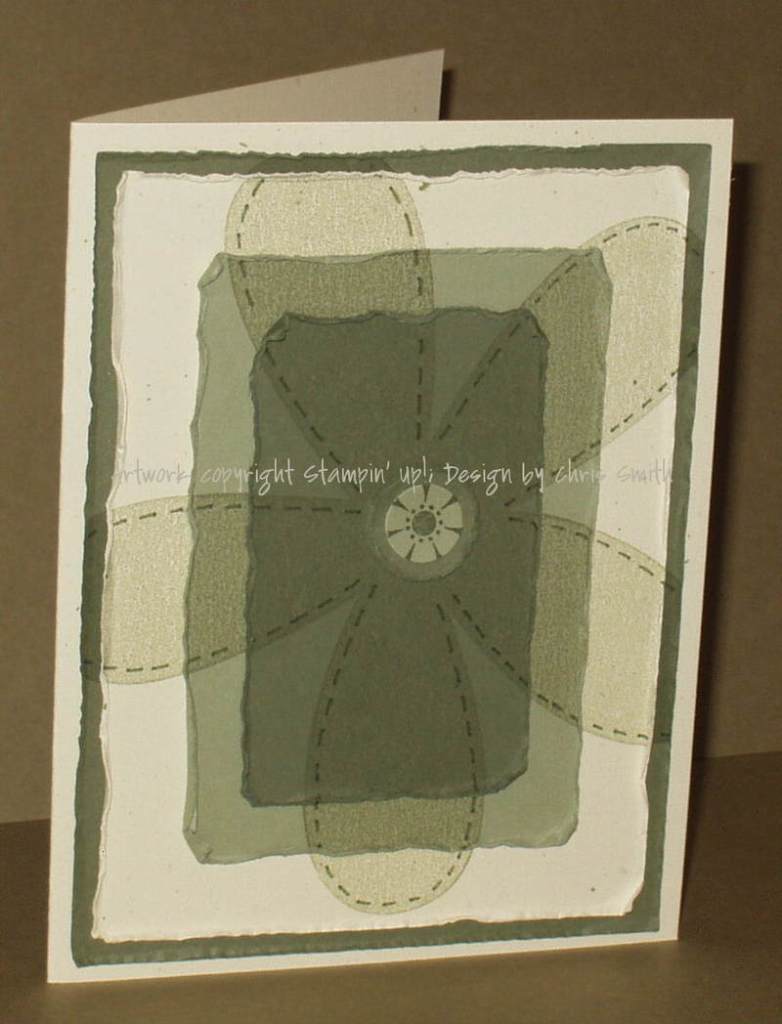
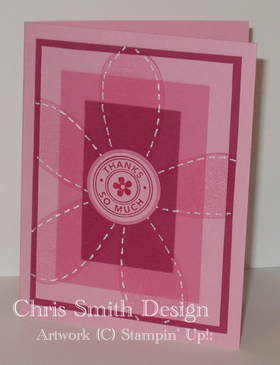
    Some hints:  I used my brayer to apply Ruby Red ink evenly to the blossom stamp. You can’t see it but I stamped “happy joyful birthday” from Small Sayings inside the card in Very Vanilla craft ink. When the card is closed the message is hidden by the petal.  I’m really efficient at the dots around the petals now that I’ve made 38 cards to swap with WOWswappers, a monthly swap group I’ve been in for several years.

    I knew Big Blossom was going to be fun almost as soon as I saw it. This is a card that was developing in my mind while I waited for my demonstrator Sell-a-Bration preorder to arrive.  


    Look how short it was and I even used “Bib” instead of “Big”. What a rookie!

    Here are some other Big Blossom cards I posted that first month. It looks like I did have a little fun with it.

    I called the technique I developed for the first two cards Shady Layers. It used some tools that have been discontinued such as the Perfect Layers tool but it’s possible some may still find it helpful so I have converted that post to a PDF file if you would like to see it. I didn’t have the heart to delete the kind comments so be aware. If you choose to print you may want to do select pages.

    So what’s on my craft table now?

    I don’t have any recent work with large background sized stamps to share with you today but I have been playing with some pretty big leaf dies from the Gathering Moments Bundle/Gathering Together Suite.

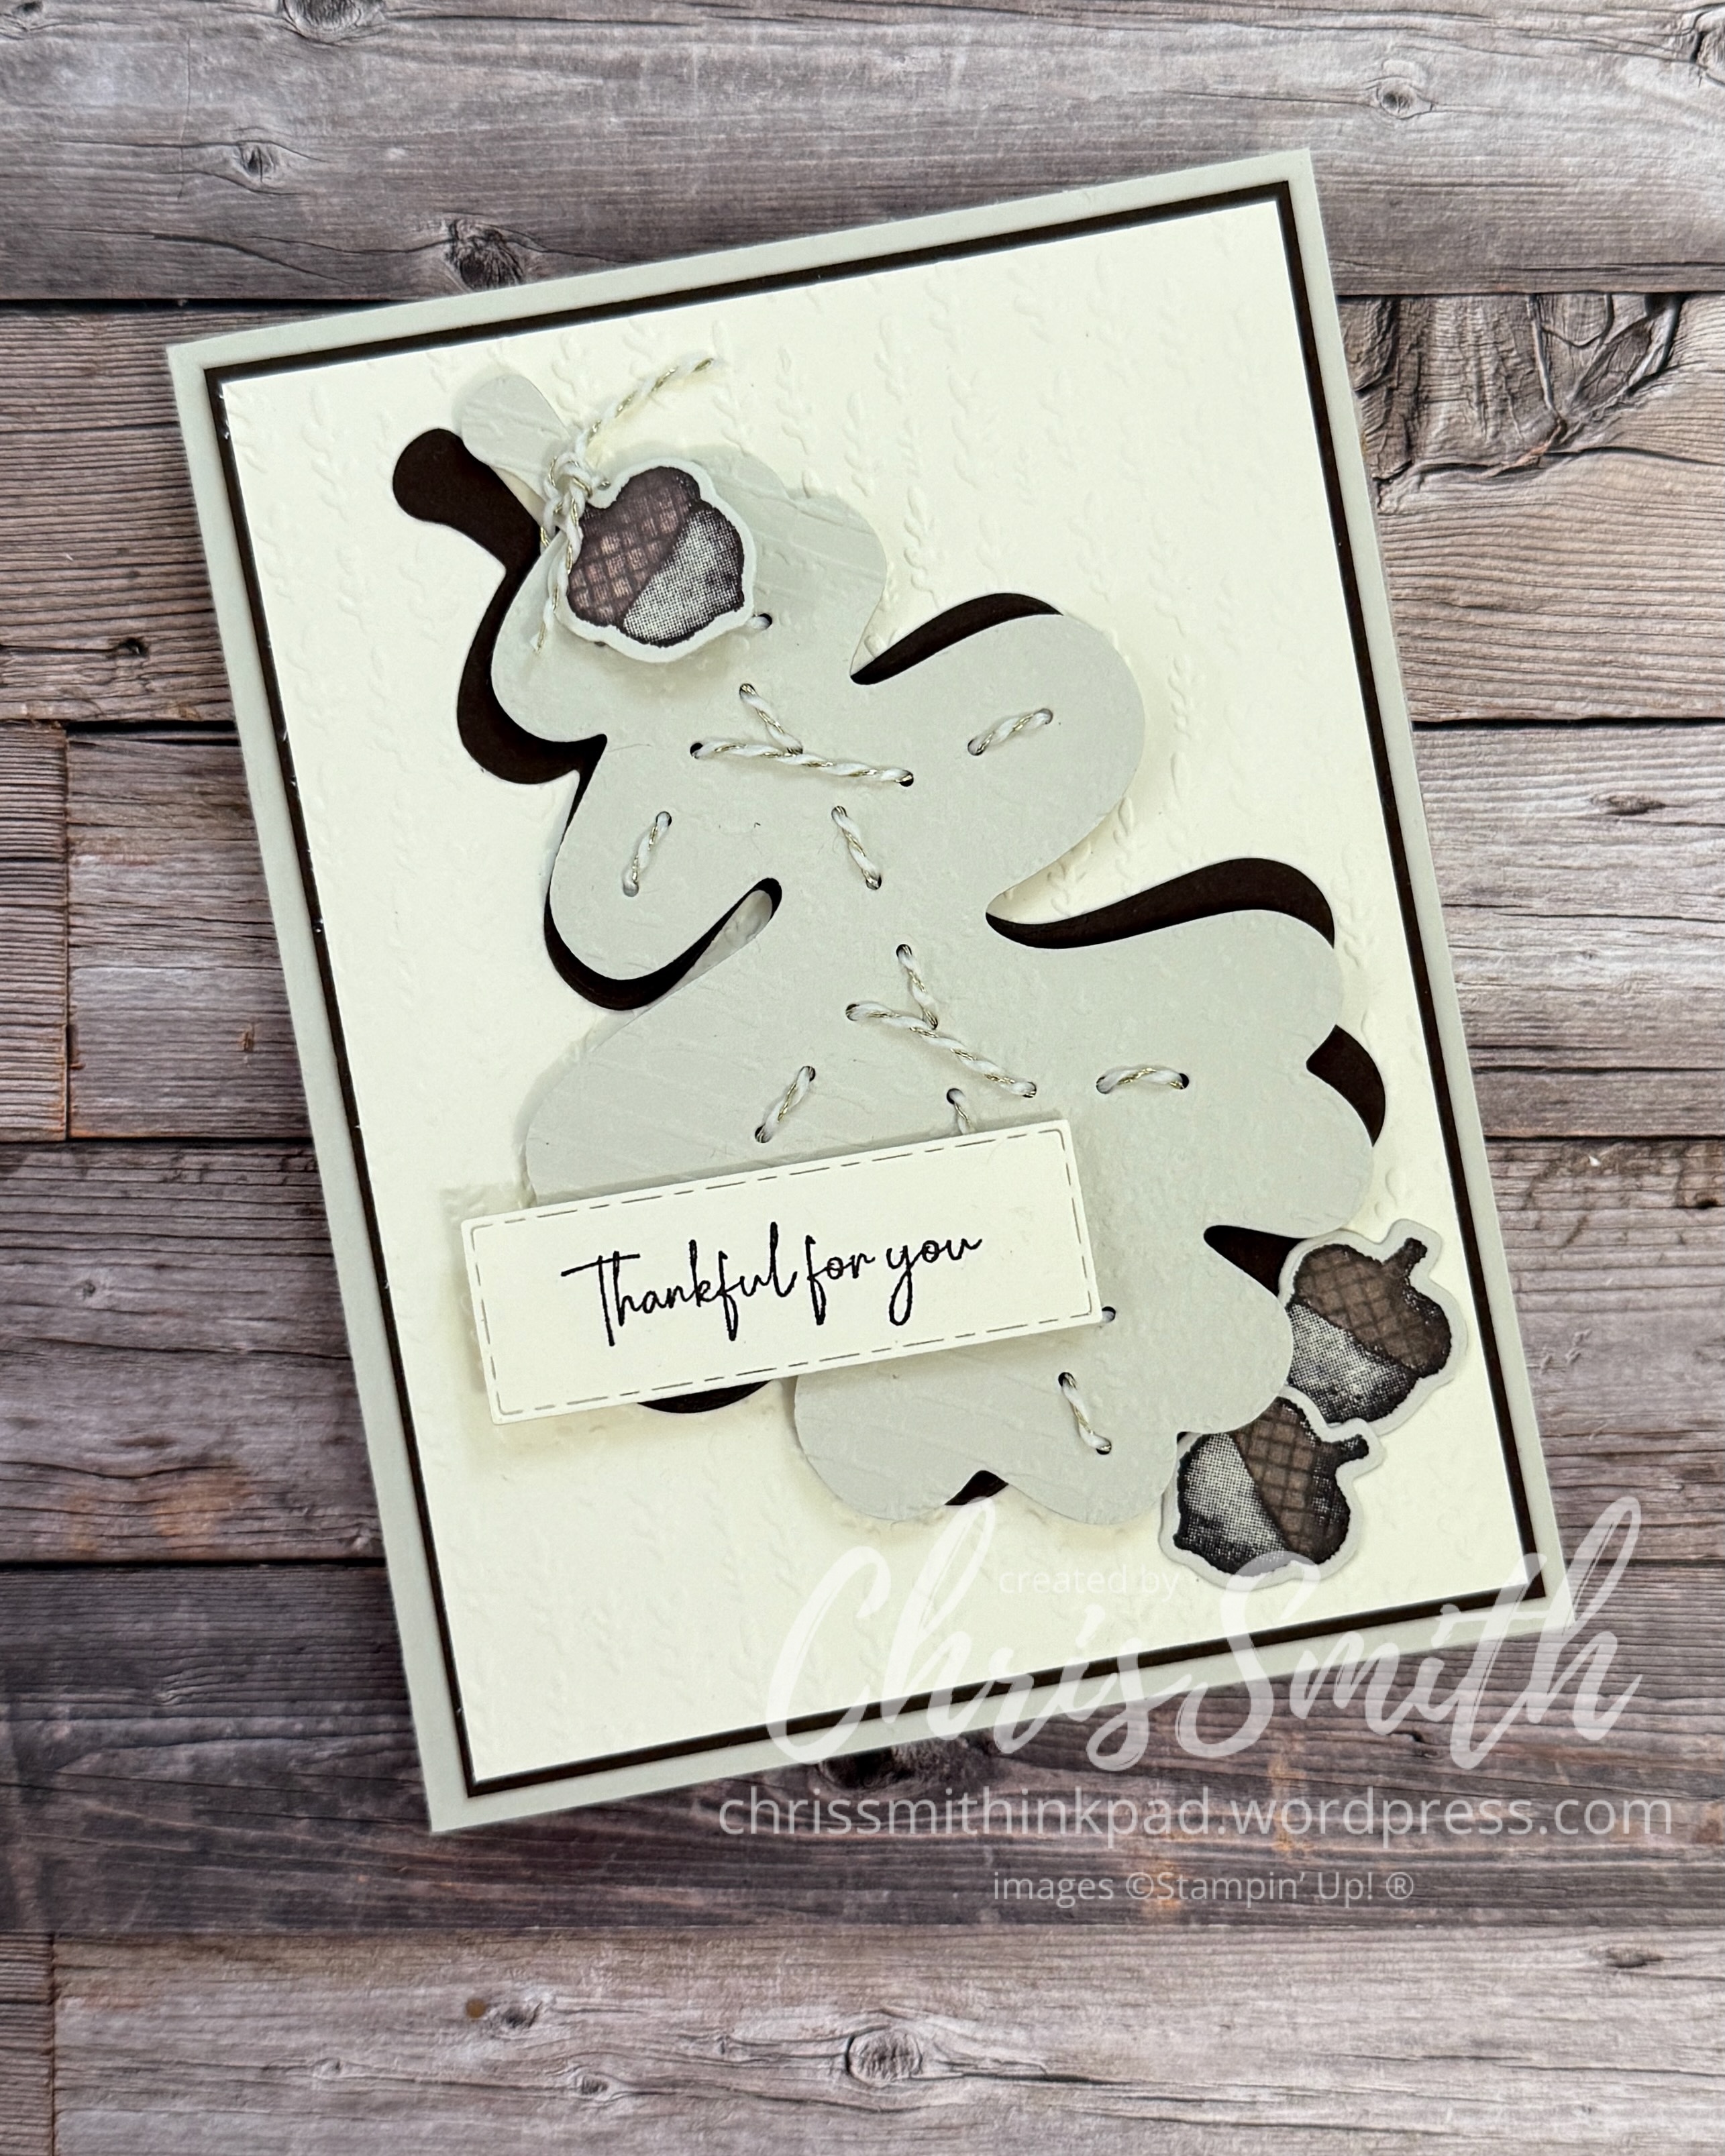
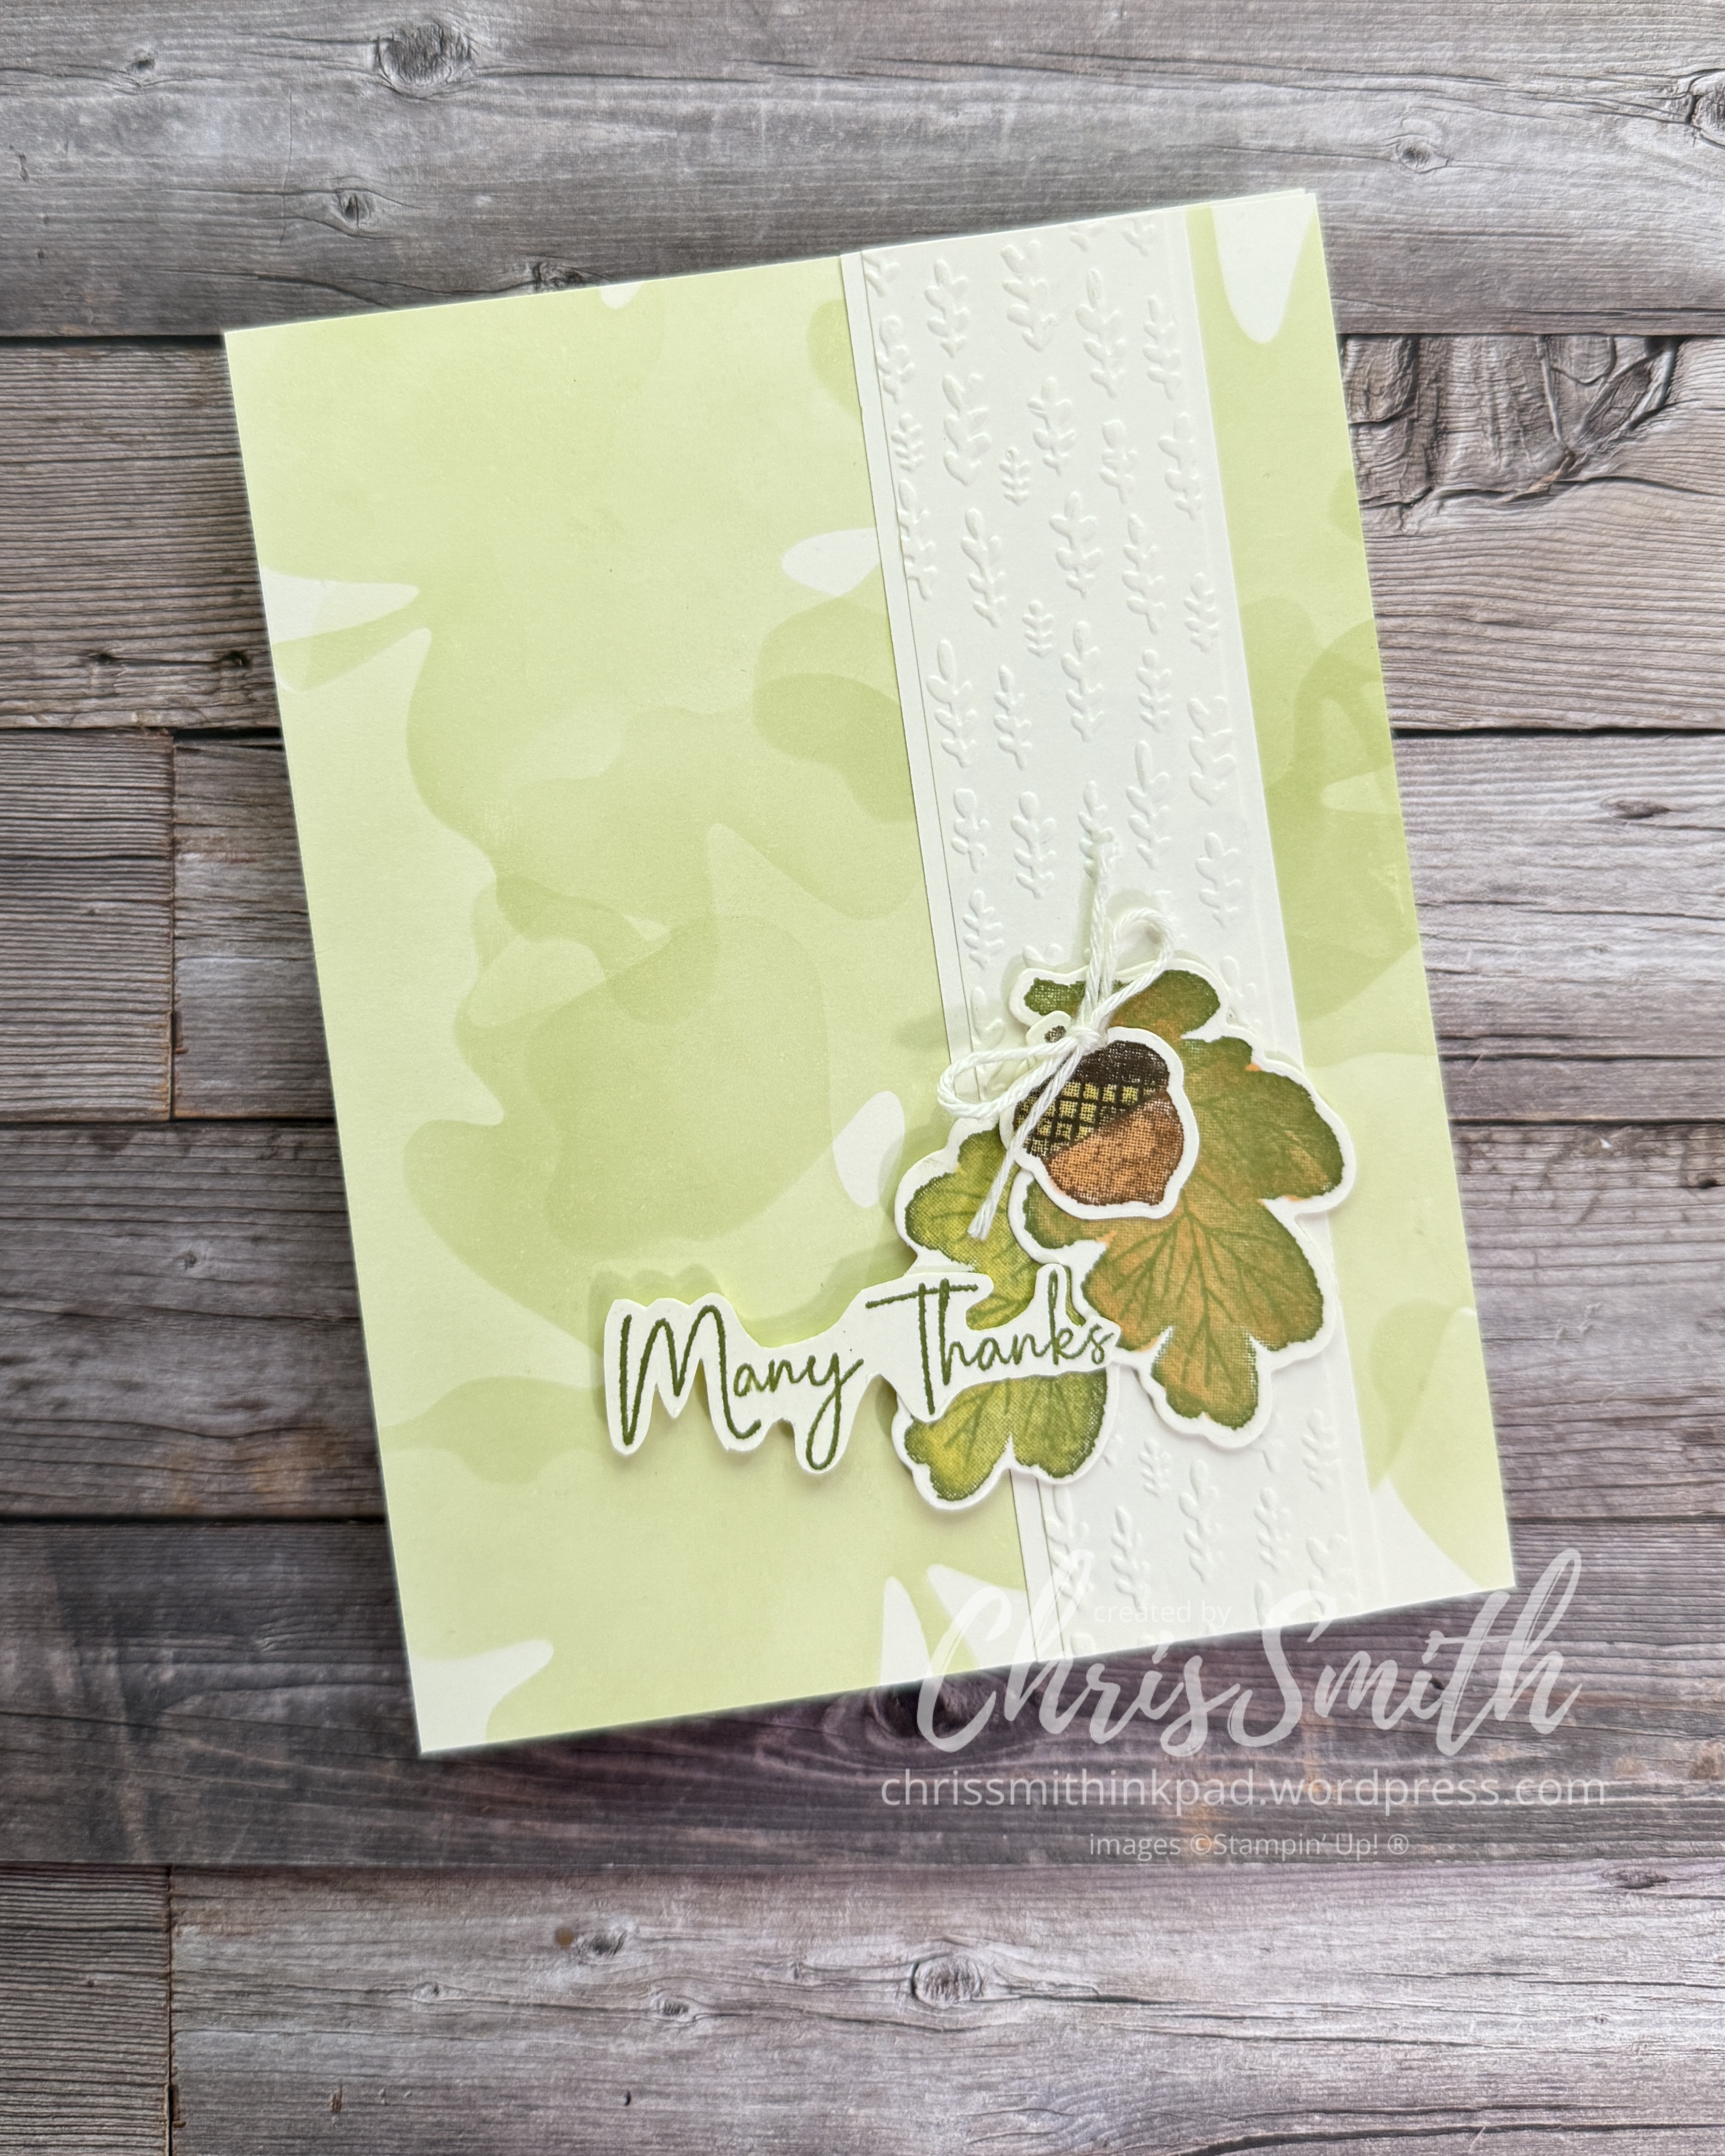
    These two cards make use “nesting” dies that include an outline die and another large die with holes that fits into the middle. These holes can be used to make stitches OR just show through to another color.

    Or, you can use the outline dies alone. In the next photo I used it with an embossing folder and then blended a bit of Basic Beige ink around the edges. In the second card I used the “negative” of the die cut as a stencil to brush in layers of leaf prints, such as you see when leaves bleed into a city sidewalk.

    Let me know if you want to know more about any of these.