Today I’m celebrating the Turtle-y Cute Collection and Designer Series Paper(DSP) with ideas and card making tips you can make work for many different kinds of characters.
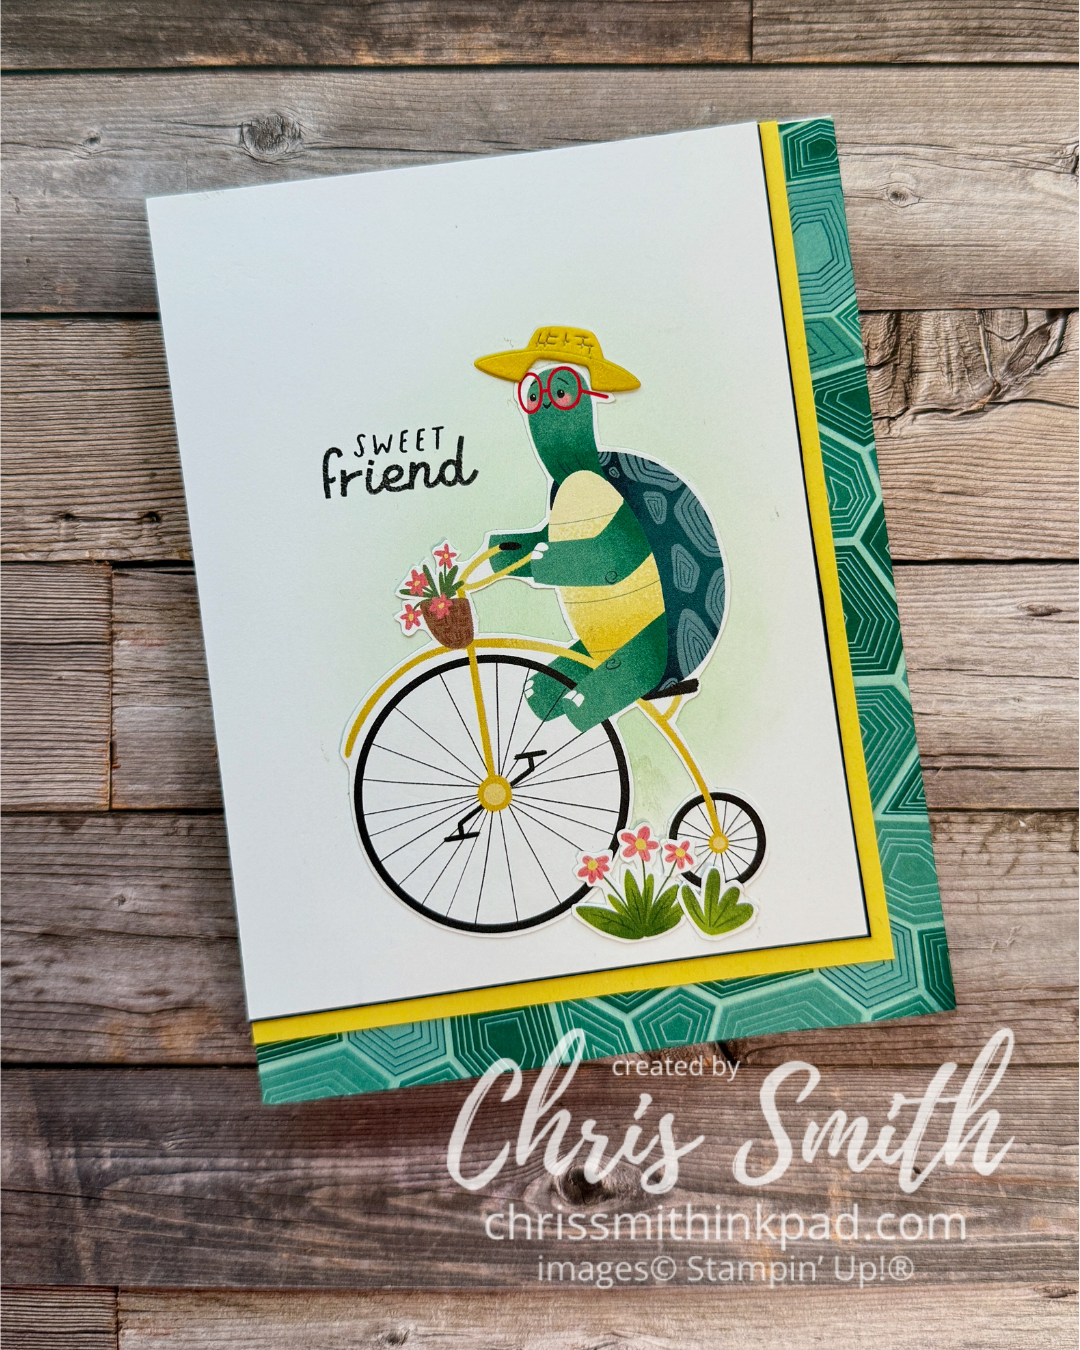
This cute and kind of silly collection of turtles came out a little over a year ago and went on Stampin’ Up!’s Last Chance list this past April. I was first introduced to them at Onstage last March, when I attended an evening stamp party.
I did a post last year before the Typepad blogs ended and I am incorporated those cards plus a few more here to show a little of what you can do with this suite, particularly the DSP. As I write this the paper is discounted at $7.50 (US) for 12 sheets and the stamp and die bundle is also significantly discounted. The DSP pack alone will make many cards!
I suspect the paper will be gone by the time many read this but I hope you will find ideas that you can use for other character based papers and craft supplies that you might have or come across.
First off, a classic birthday card using one of my favorite DSP card sketches and techniques.
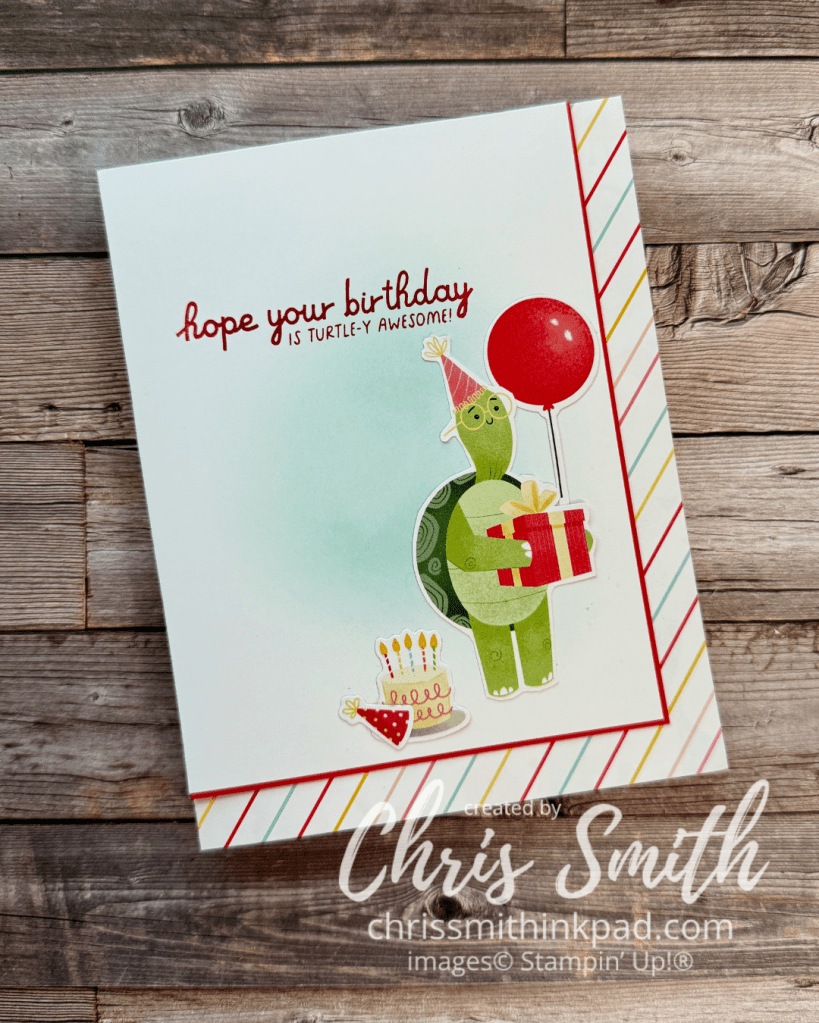
I love to create these cards with corner borders, especially when I have diagonal stripe or plaid. I’e also started keeping a stash of quarter front or slightly smaller pieces of card stock brushed slightly with a bit of blue, purple or green ink, whatever is ready to be cleaned from my brush. This simple little bit of background color can really make a fussy cut image seem a little more at home on the background.
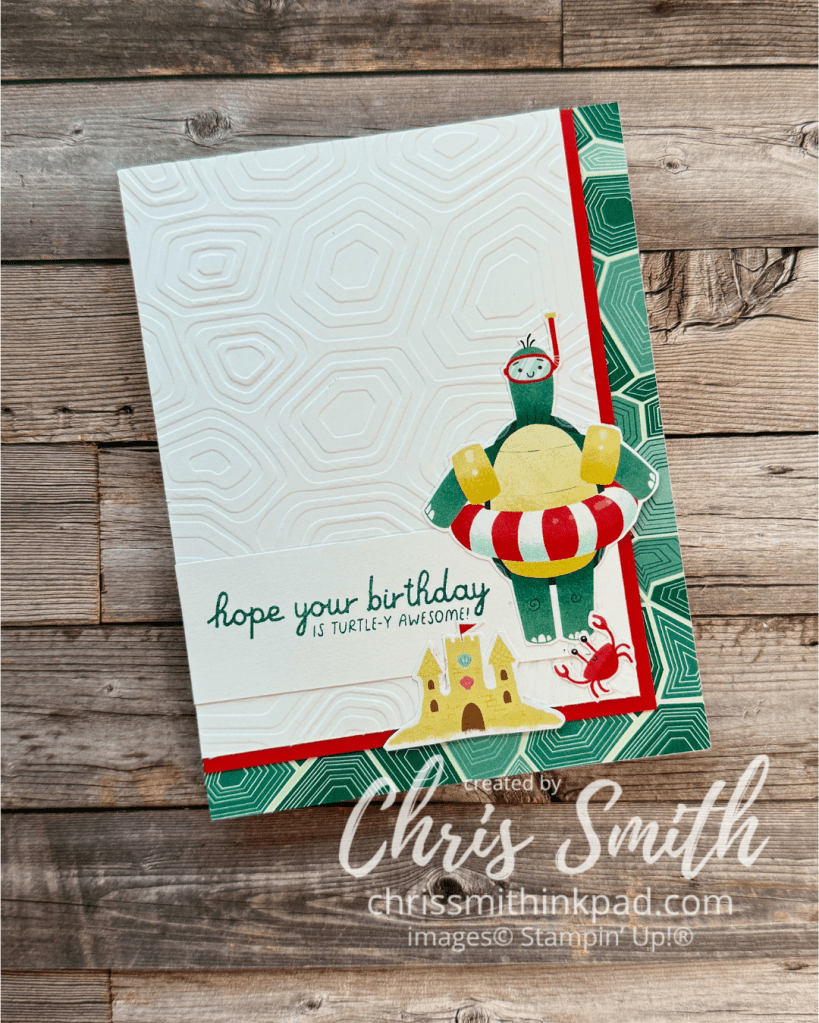
This beachy turtle gets a background treated with a coordinating embossing folder.
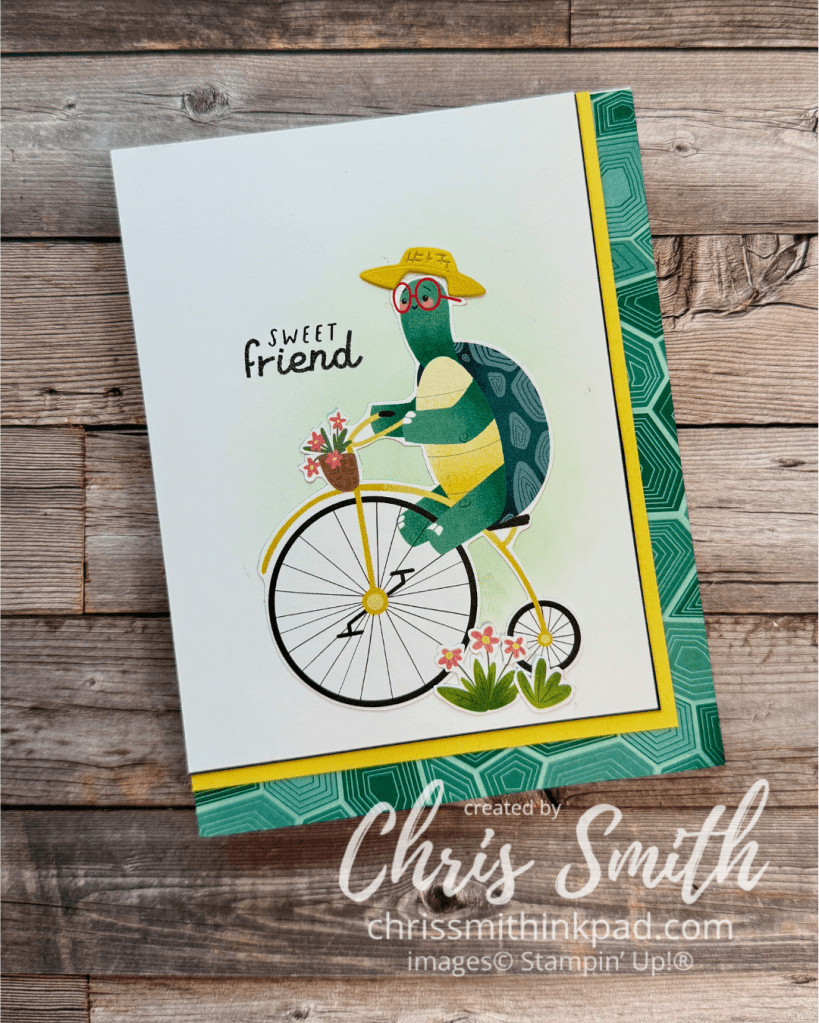
Here’s how to get some extra mileage out of your DSP when making corners:
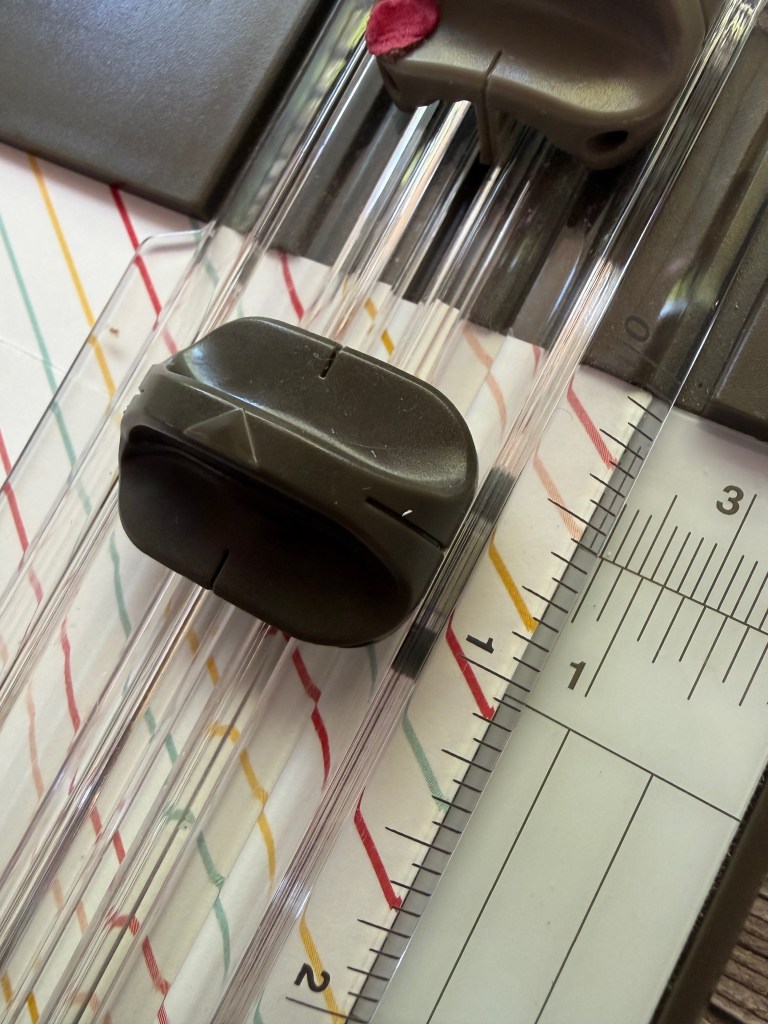
I start with a 12″ square piece of DSP but feel free to try this with another size.
Choose a width for your border. I’m using 3/4″ here but sometimes I use a half inch. Start your cut 3/4″ down from the top edge and 3/4″ in from the right edge. Cut until you reach 3/4″ in from the bottom edge of your DSP.
Lift up your ruler/cutting blade and turn your paper 1 quarter turn to the right so that the placed you finished the cut is now at the top.
Repeat until you have cut out a square with a frame. This works wonderfully with the Turtle-y cute DSP because you will have pieces to trim your card and lots of turtles and their accessories for your cards.
I did a video on You Tube (several years ago that allowed me to get 13-14 corner borders from one 12×12 sheet.
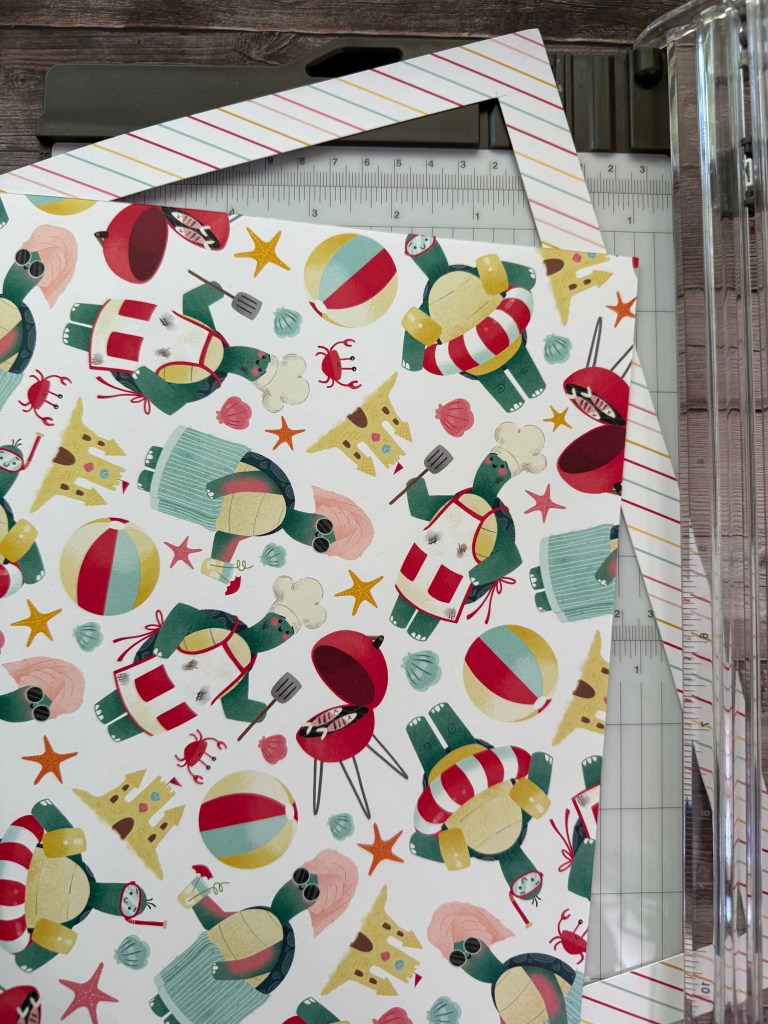
Some time ago I did a video for the frame cut out technique . For some reason I can’t link it here but it’s not hard to find on my little YouTube channel. It’s got a little snowman with another corner border.
And, those partial images on the edge of your DSP? There are lots of uses for them.
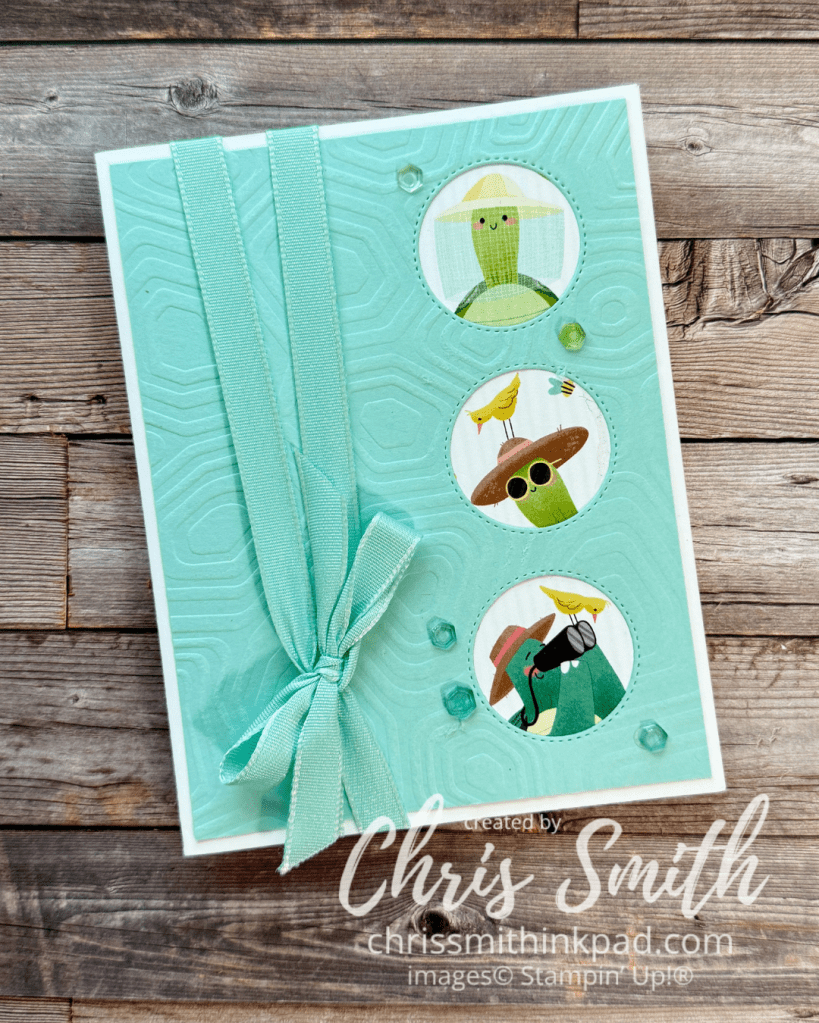
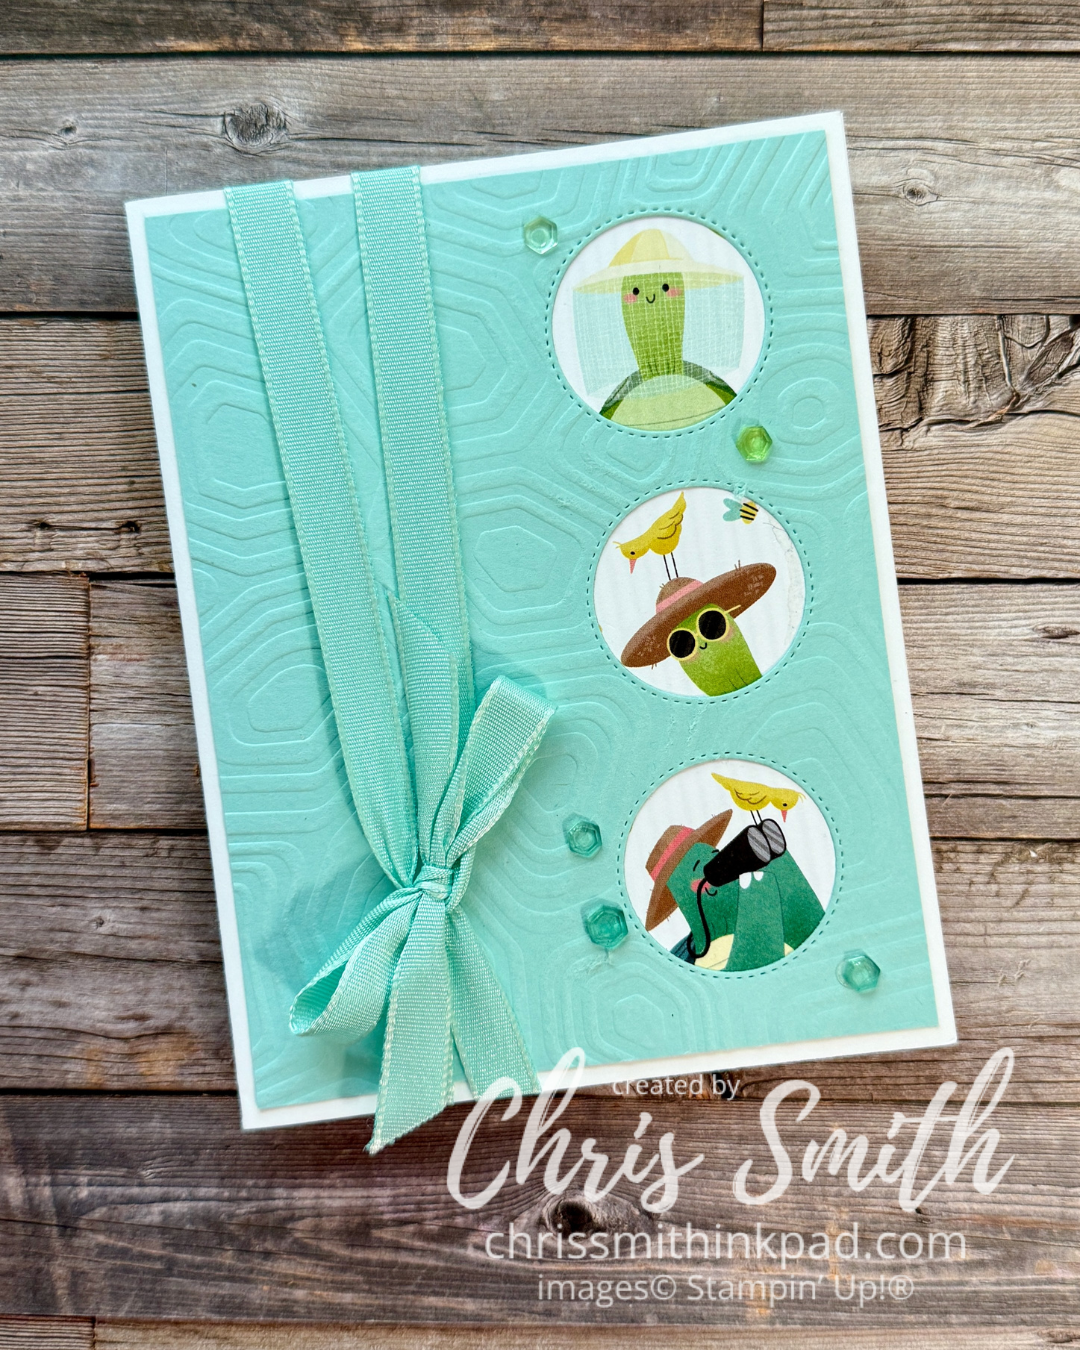
I did a trio of the Nature themed turtles along the side of this card. You could punch or die cut them or create windows for them to peek through as I did here.
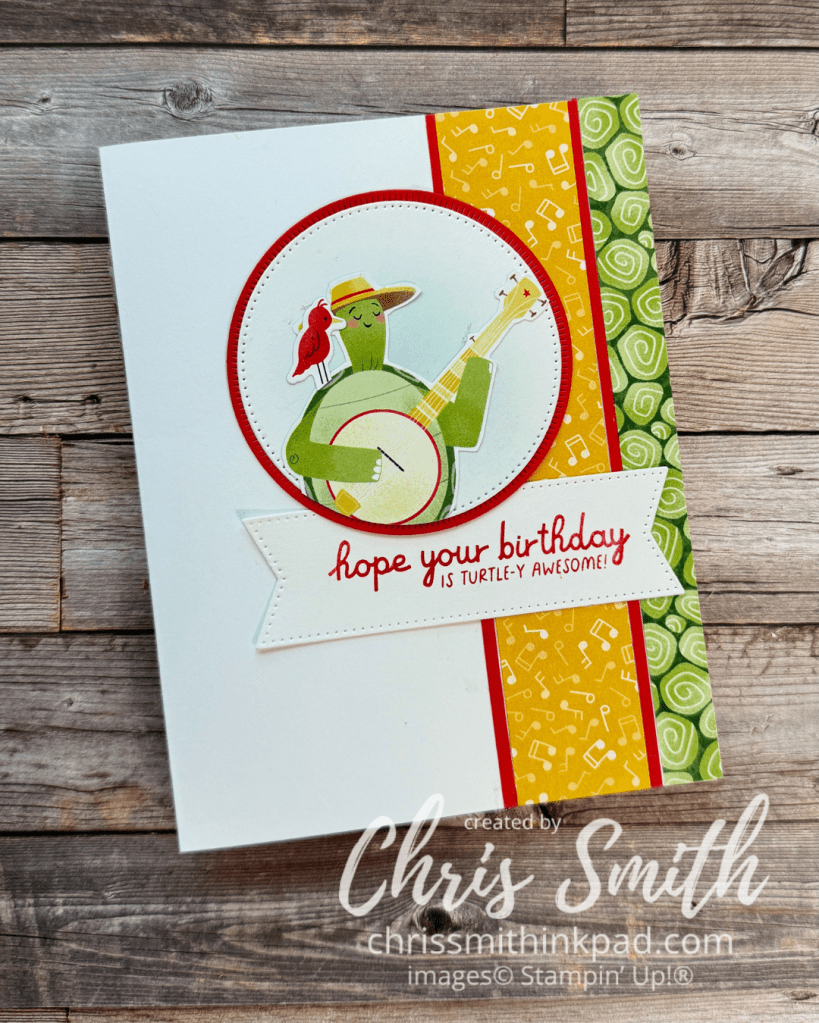
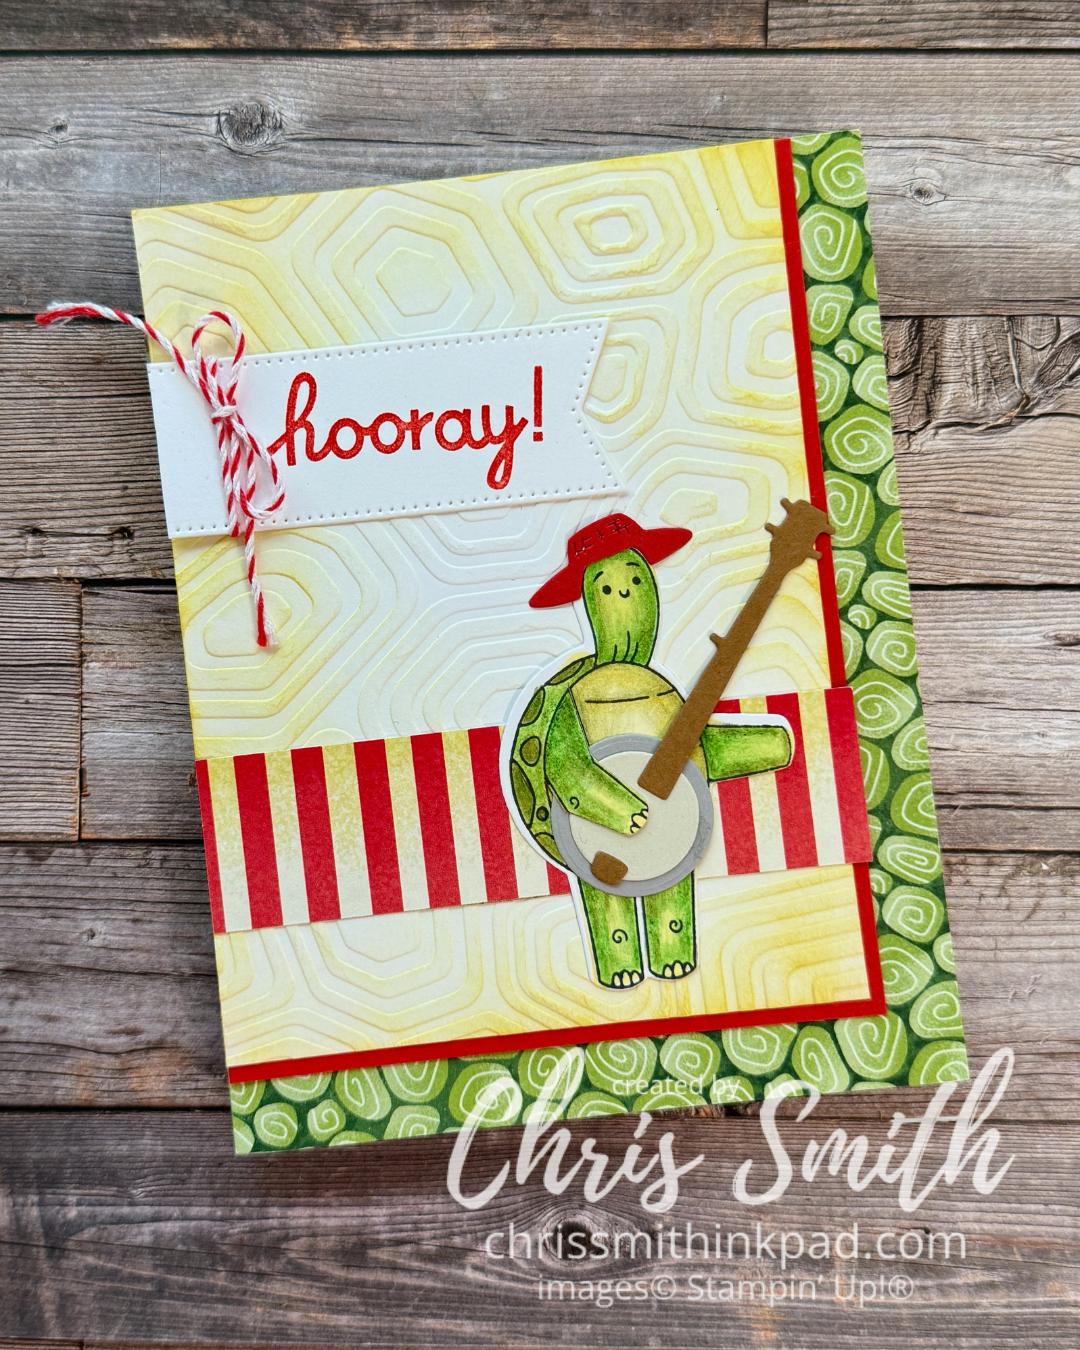
There was a little more image available for this banjo picking turtle so I put him on a circle with the same blending brush background.
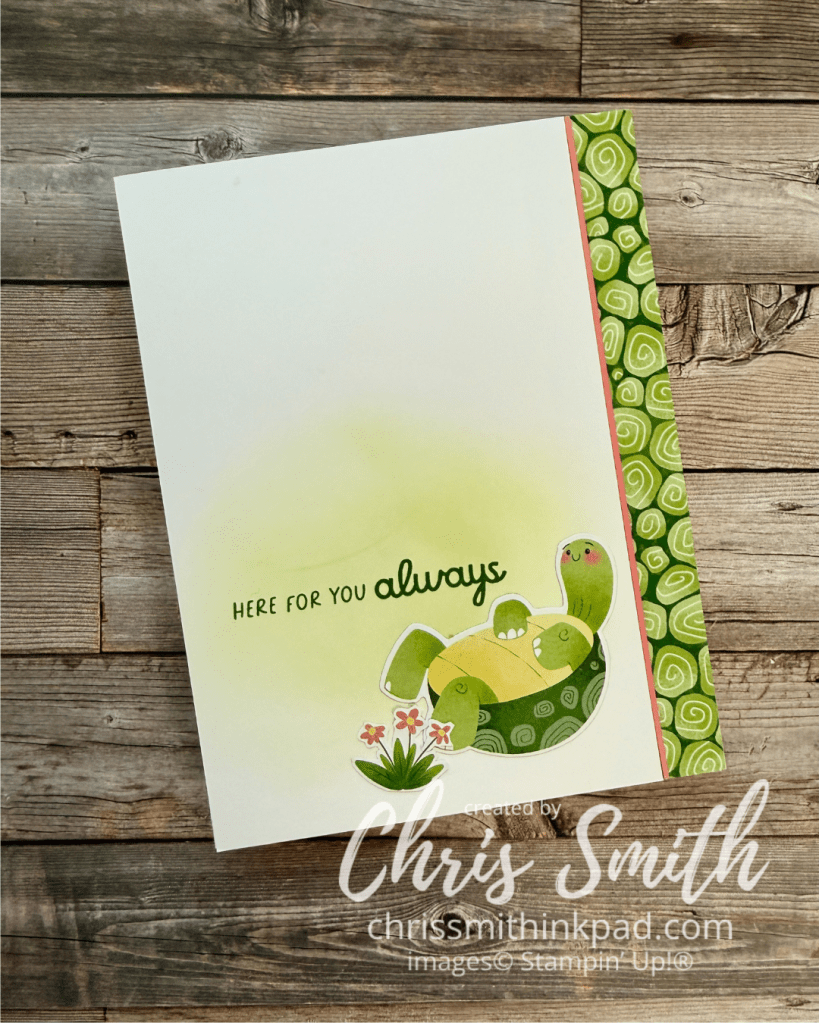
Sometimes a simple border is enough.
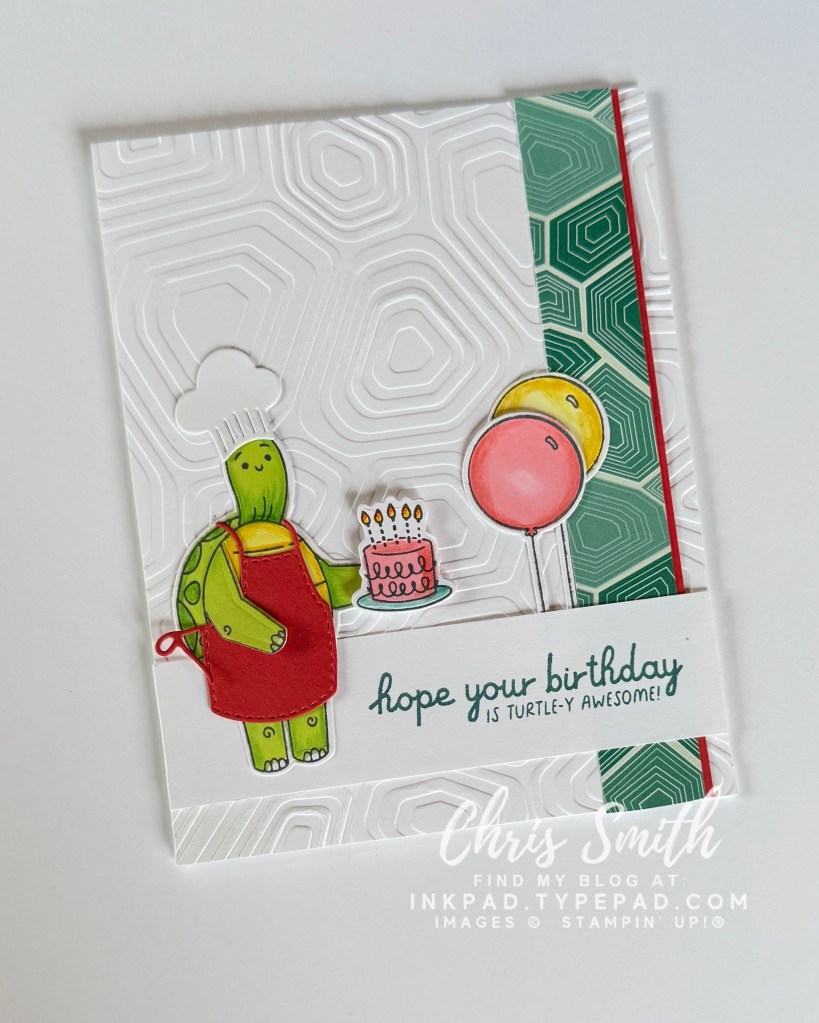
Or play around with word banners. This card makes use of the stamp set for the turtle and dies for the hat and banjo.
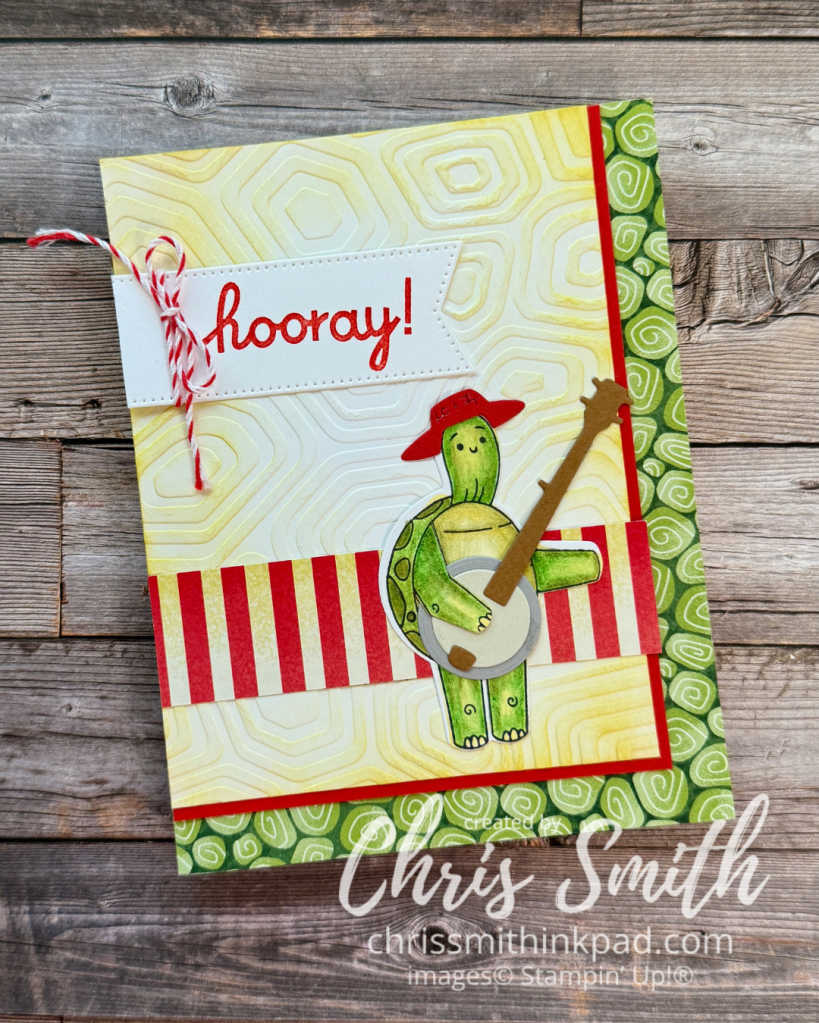
I colored this turtle with my travel coloring kit: some pale green and yellow Blends Markers plus the watercolor pencils (without using any water. I find using pencils quite relaxing and I have so much more control over the shading.
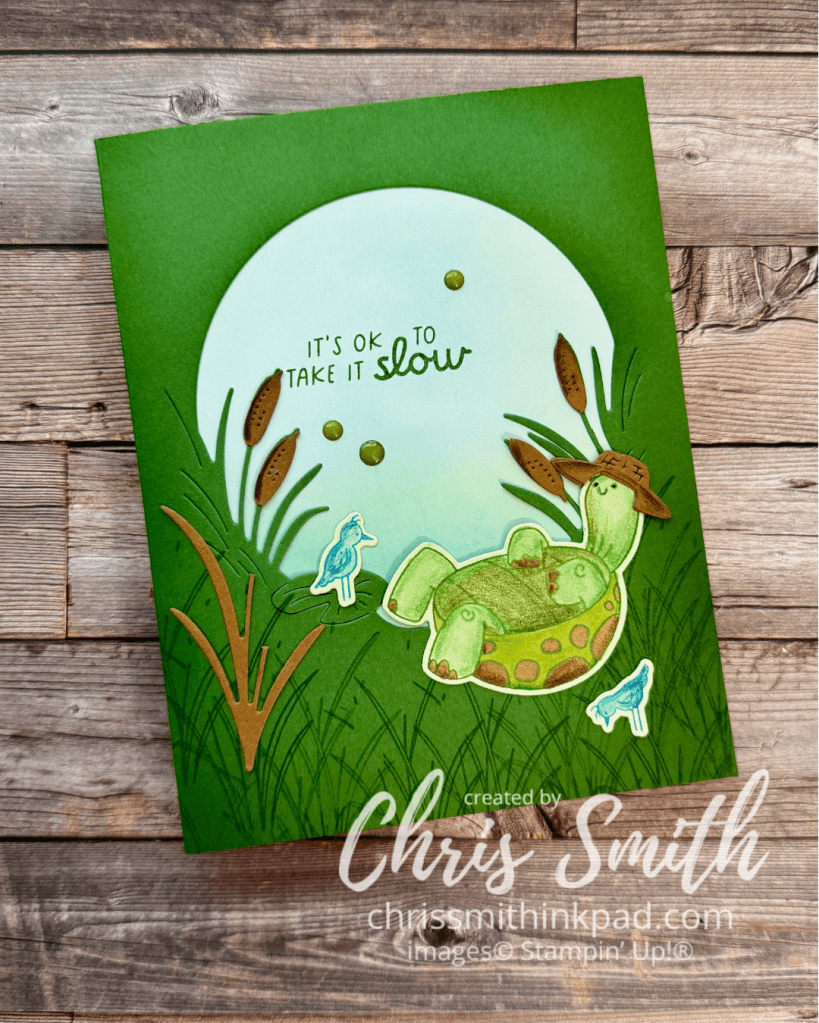
I also like to pull out other products I have. This card incorporates some dies from Charming Duck Pond, a retired product. Maybe you have something similar that you can use to build a unique setting for your characters.
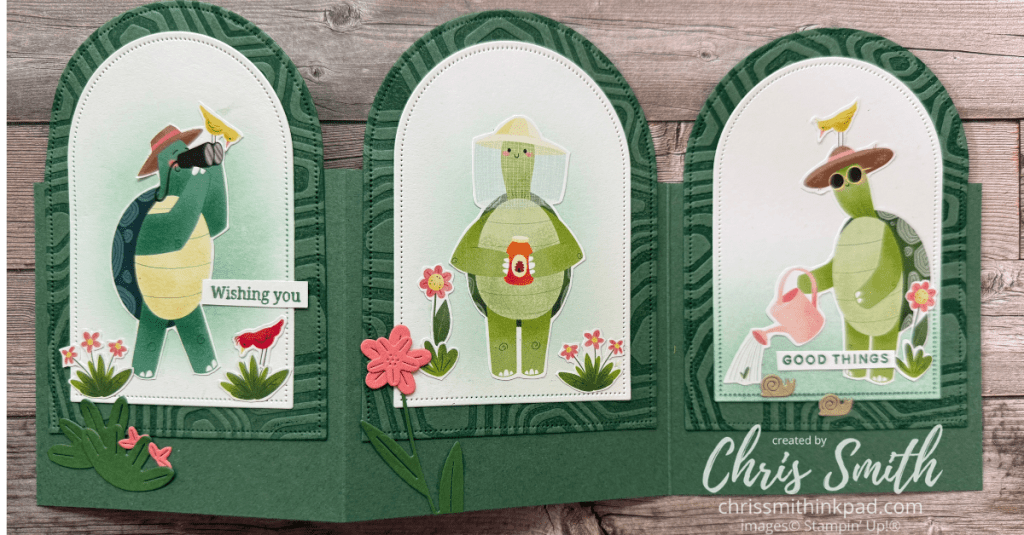
Arch Trifold: Maybe you can recognize die cuts from Sweet Bug? I tried a few of the greens found in the DSP for this and them figured out that I liked the way the new 2026-2027 In Color, Peaceful Pine, brings the different greens of the turtles together. I inked the (coordinating but since retired) embossing folder with Peaceful Pine before embossing the card stock in order to emphasize the texture.
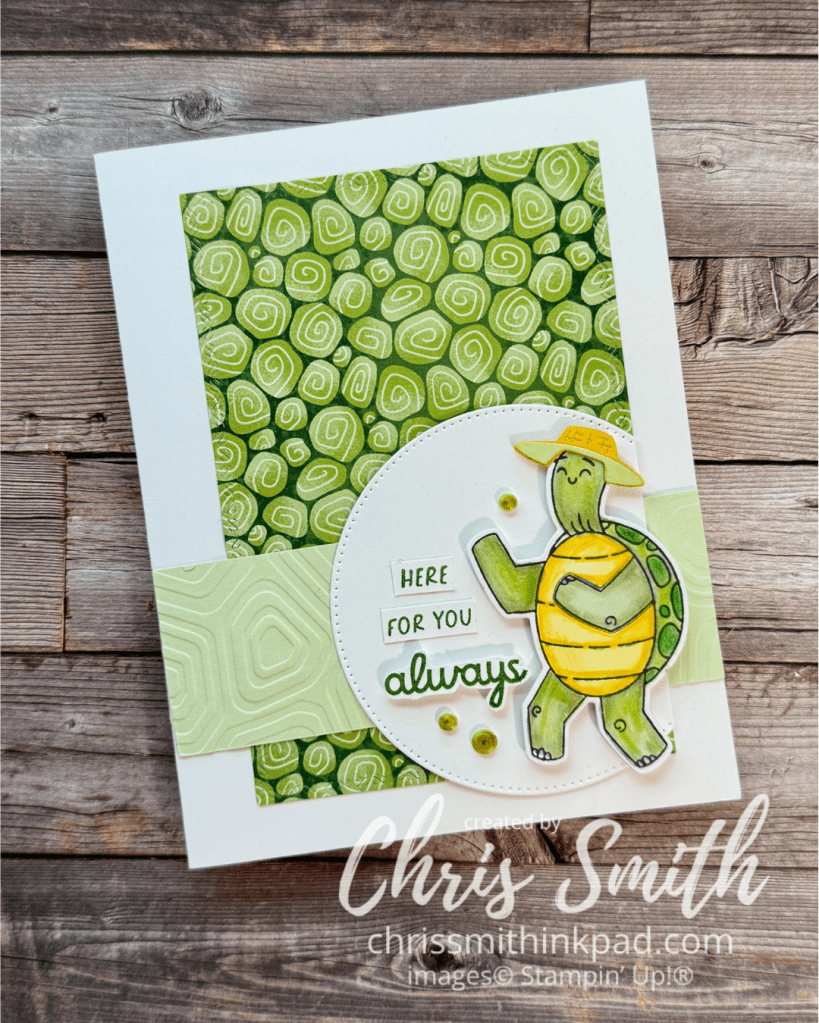
One more that I made with one of the turtles that I colored while on Onstage 2025.
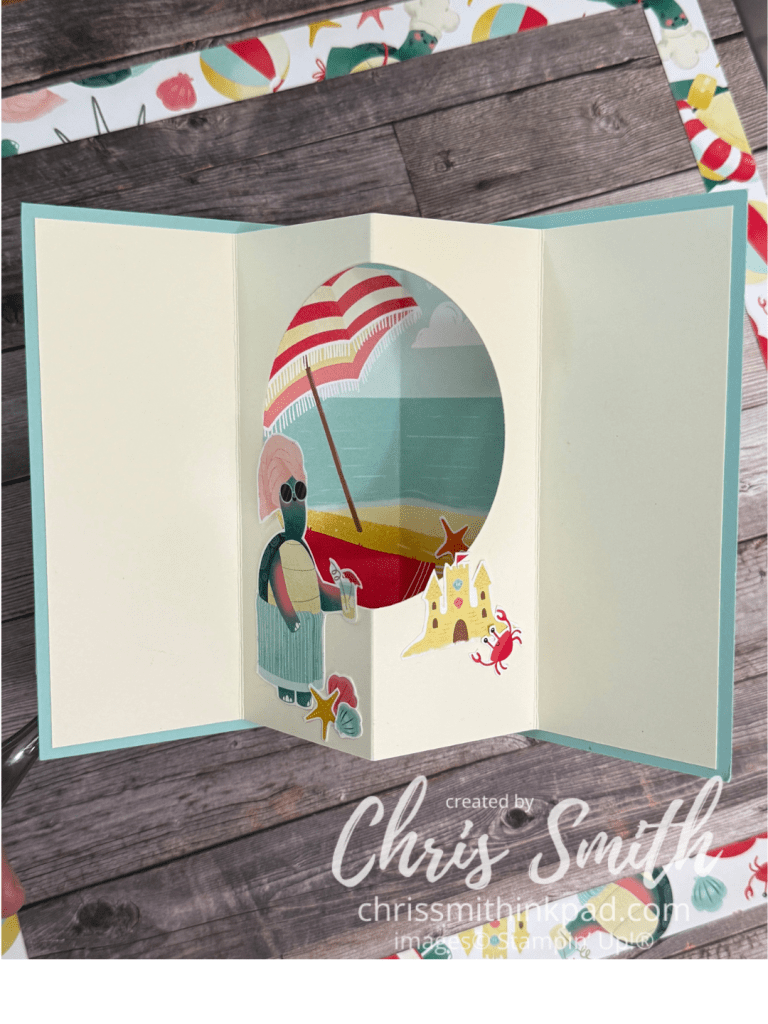
Here are a few more turtles in one of my favorite fun fold cards. Some call it a tunnel card, others refer to it as a theater card. Regardless, I think it’s a great way to use the roughly 4″x6″ background scenes that you find in some DSP packs.
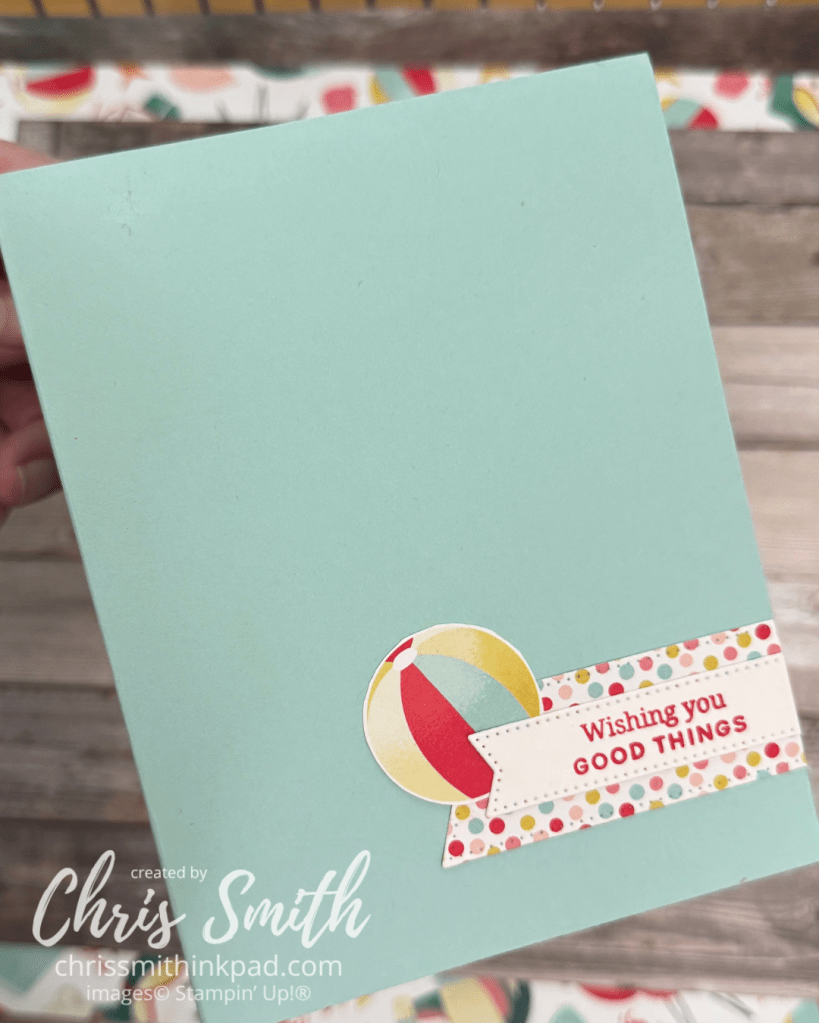
Often when I do these tunnel cards I keep the card front very simple like I did with just a little paper and a greeting from Banner Sayings:
Here’s another with the grilling turtle using greetings from Relaxing Waterside.
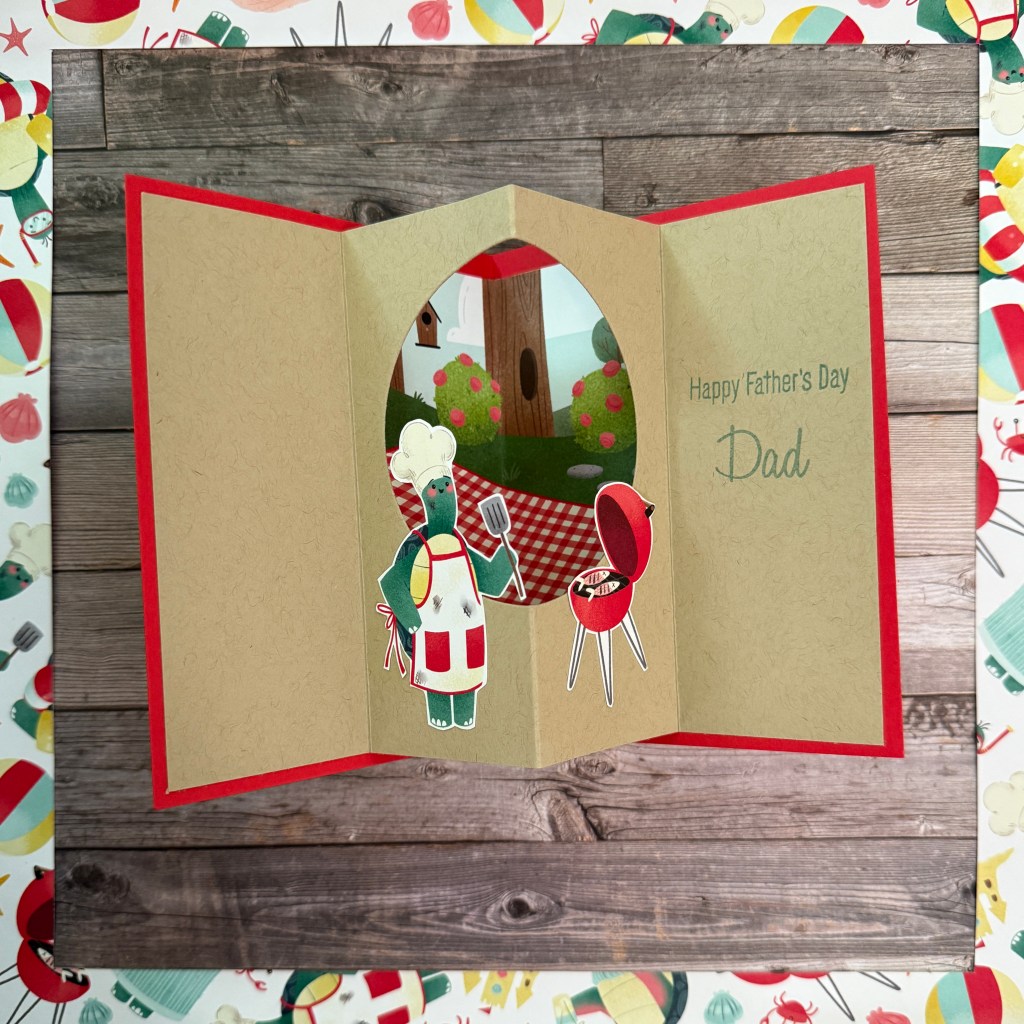
Basically, a tunnel card is two cards, one layered inside of the other. Cutting the inside layer smaller to leave a border is optional. The inside layer is scored to divide it into 4ths and a shape is die cut into the middle two sections. Any scene that you want to appear inside the tunnel is stamped or adhered before attaching the inside card to the outside card. It’s always a fun card to try anytime you have characters. More details than this probably requires another post.

 From Chris Smith's Ink Pad
Leave a comment