In gallery posts the most recent cards are posted at the top and earlier cards show up below. I just started putting a date on my updates so I hope that helps. In the long run I think it helps to see all the cards with a set or theme together. You can always find the index to all galleries in the gallery list link at the top of my blog.
One of my favorite cards in Stampin’ Up!’s September catalog has a white, beige, green and brown color scheme. I didn’t order the particular suite used to create it but I thought I would try my own version with Winter Adventures…
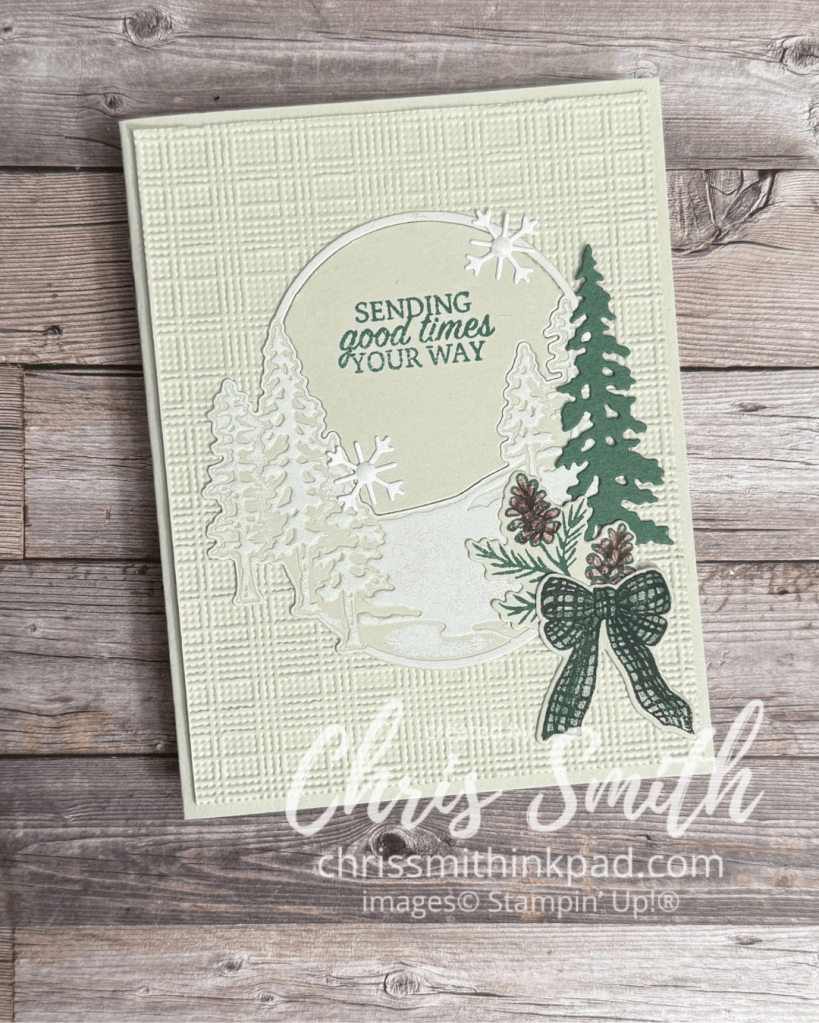
- You want to use the Impressions plate after die cutting the oval scene to increase the differentiation of the trees and “snow”. I used a brayer with white craft ink to subtly emphasize the snow.
- I added the color to the pinecones gradually with pencils to avoid covering up the detail. Blends would work too but you would want to use maybe light Crumb Cake first and then add tiny dots with a darker brown. Don’t add them too fast because they can spread a bit.
- The bow is stamped with Peaceful Pine. I added more color with a blender pen and the ink.
- I love that the bundle has its own embellishments with the snowflakes! Though I used white dots in mine they also look great without them.
I loaned out my Winter Adventures bundle for a few weeks so most of these cards were made with a stash of images I stamped and/or die cut without necessarily knowing what I was going to do with them. I think it was actually a good way to explore what the images can do. Maybe if I had the set while I was composing with them I might have tweaked one or two elements but I hope that you see the possibilities.
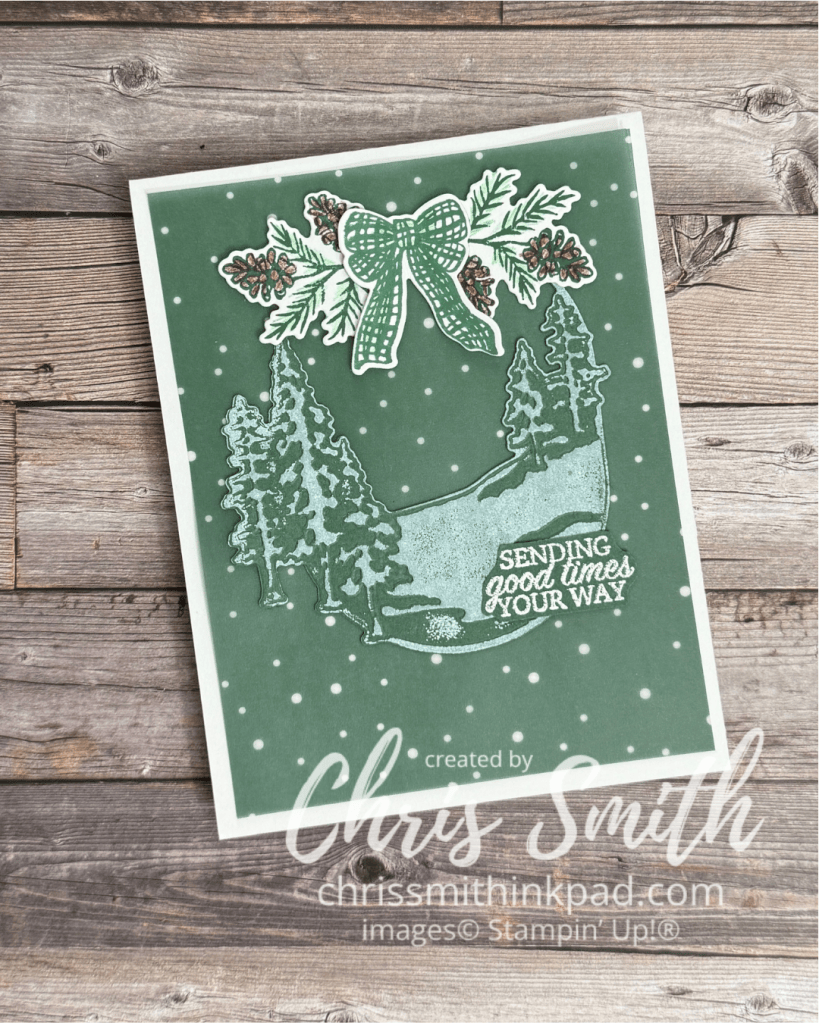
- I pulled out a piece of Berry Botanicals vellum for the background on this one. Snowflakes against Pine, right?
- Same treatment of the oval scenery piece as the preceding card to get the snow effect.
- I was kind of thinking of the overall image being decor you hung on a door when I added the bow and greens to the top. If I was to do it again, maybe I would try adding some lighter green over the white of these pieces so that the “white” on the snow would pop more. Or maybe try stamping those images on another piece of Peaceful Pine vellum?
These pieces came together from some of my first experiments with my preorder. I was using some now retired specialty paper with a sort of handmade texture. you can see it if you look carefully at the photo. I hadn’t used it previously and really wished I had done more with it earlier as it was gone from the online store shortly after I made this. It also shows that the die doesn’t just have to be used for winter scenes.
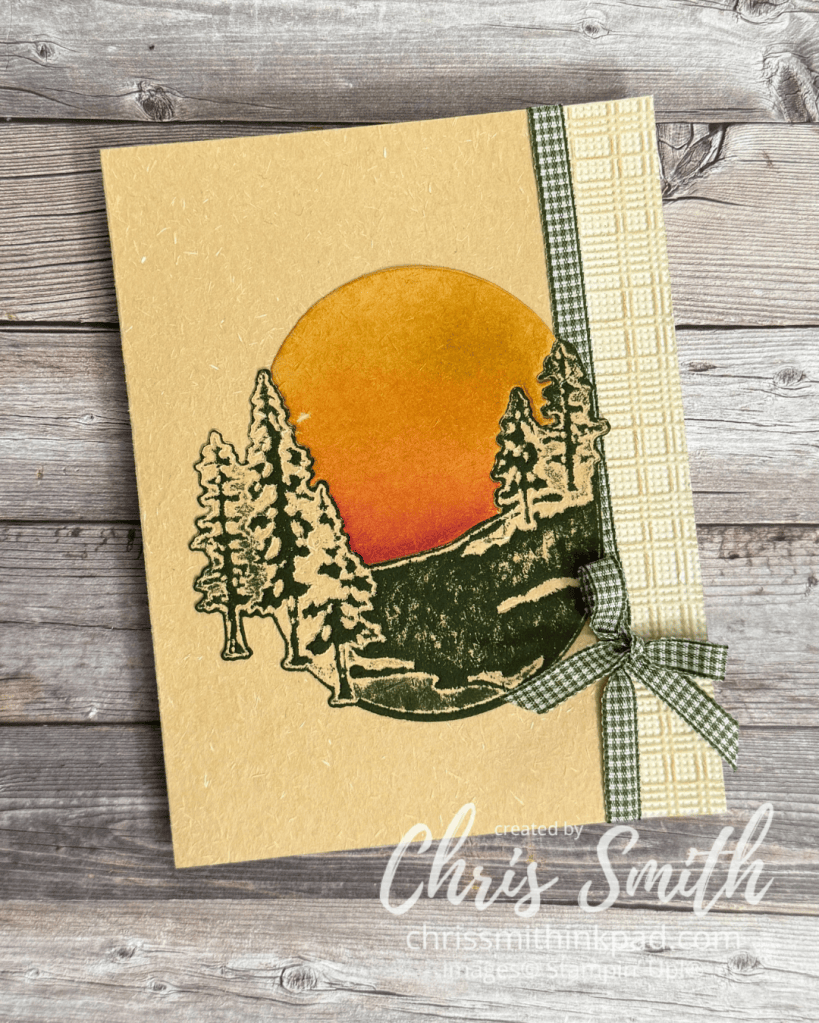
- Just for the record, I collect gingham ribbon…
- The Mossy Meadow ink was brayered onto the embossed die cut.
- The top of the oval was trimmed off here due to a mistake I made in doing the die cut. So. I made up for it by blending ink onto the so called negative of the die to create a sunset. It’s a little smudged from ink on my finger, but you can get the idea.
I had 2 strips of the stripe pattern cut, planning to use one on each side, but then decided a corner look would be less “squished”.
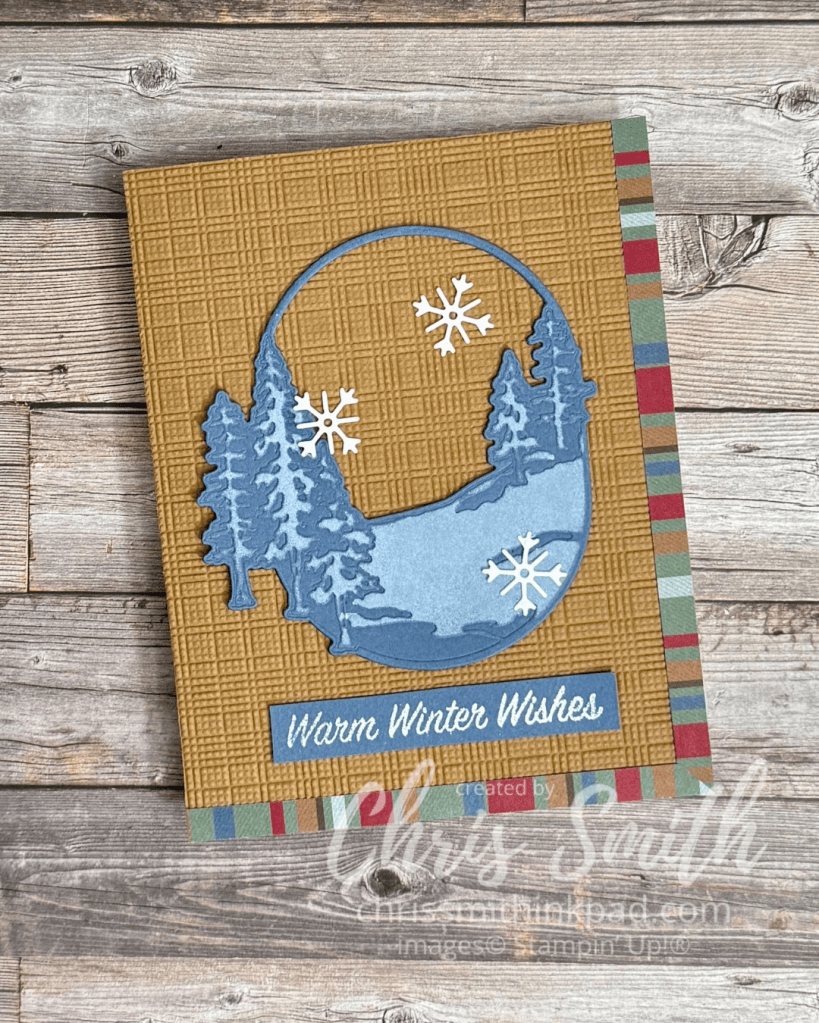
- I’ve been designing corner border cards for years, practically hoarding the diagonal patterns that work so well with this and thinking stripes just wouldn’t work. but this was SO easy. Somehow I thought I would need to miter both strips exactly or it wouldn’t work. No! Just glue on a vertical strip (1/4″ in this case)to the right edge. Then make whatever you think is close to a diagonal cut on another strip and glue it over the first strip. I think as long as you are using the thinner weight designer series paper it will look perfect. Heavier cardstock might give you a bulkier corner but it would still be worth a try.
One of the things that attracted me to Winter Adventures is that the images lends themselves to a change in mood or season just by changing the colors.
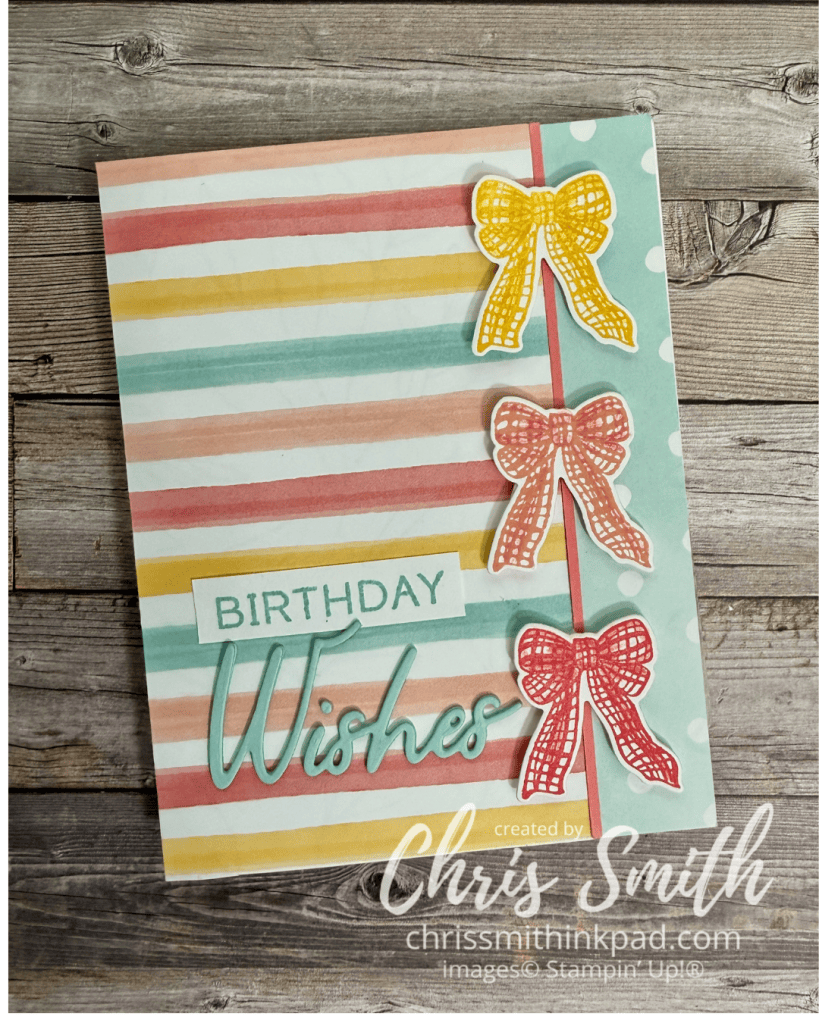
- I chose a couple of patterns from the Beautiful Ordinary Life DSP. I initially tried white embossing on colored cardstock but didn’t see enough of the color so I switched to stamping the bows in Daffodil Delight, Calypso Coral and Strawberry Slush (for the “red” in the paper).
- I used watercolor pencils to add a little shading to each bow.
- Greeting is in Pool Party with the Words & Wishes Bundle.
- If you do decide to emboss the bows I found that a long skinny tweezers could hold onto that skinny space below the knot to help me get the heat part of the job done.
This one uses a Natural Hues paper, which almost has a handmade kind of texture. It works beautifully with this scenery die.
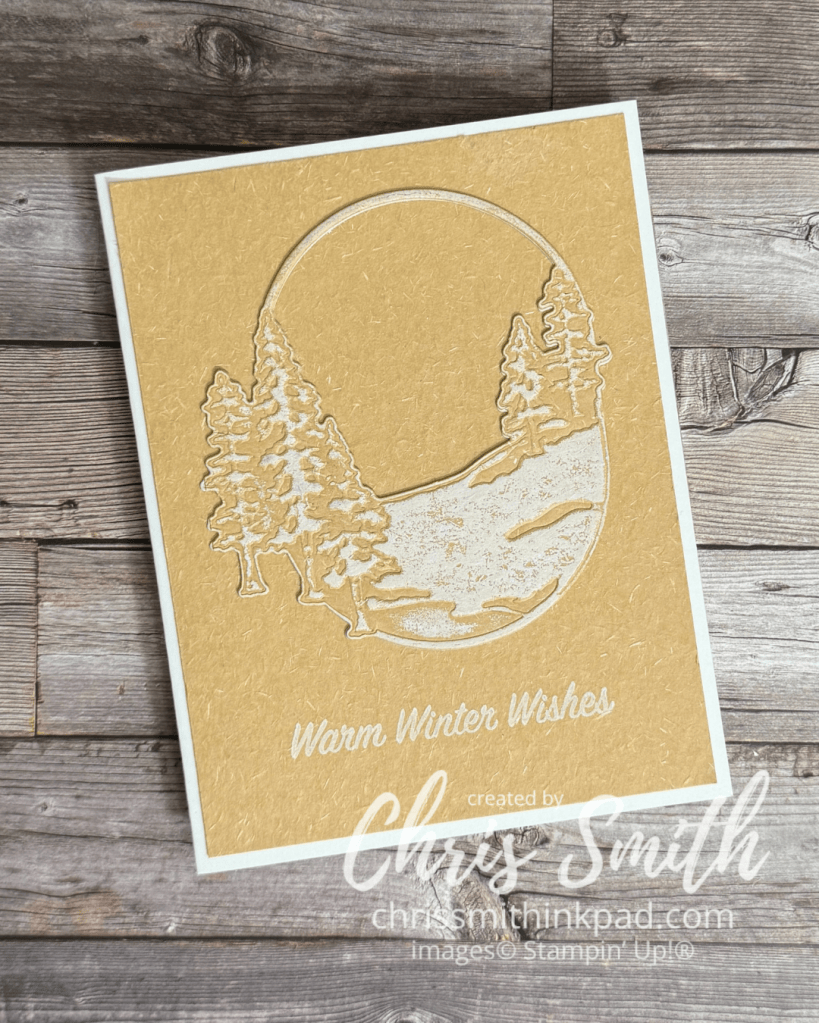
- I used white craft ink without embossing to add “snow” to the scene (with a brayer) and for the greeting. Easy Peasy
- Stampin’ Up!’s Impressions Plate video
One of the things that really attracted me to this bundle was that I thought it could work with a range of looks from rustic to feminine, along with a variety of color combinations. That always makes points with me!
This one started with one of several oval impressions die cuts that I played around with and only later explored how to make them into cards.
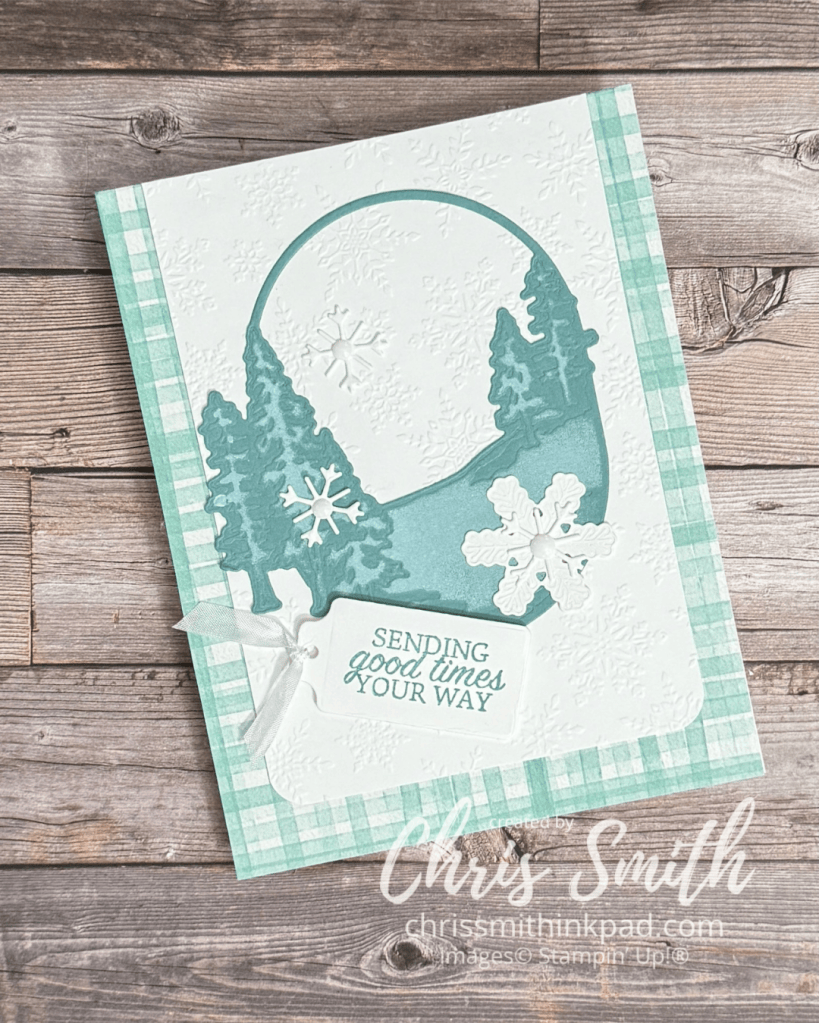
- You need the impressions pad to get a good impression of the texture after you make the initial die cut. Both the larger snowflake die and the oval tree scene give impressions.
- I’ve used two ways to add “snow”: Lay the die over and add white craft ink with a sponge dauber or brayer white craft directly over the embossed piece.
- Background paper is from Valley in Bloom DSP. There is a current hybrid embossing folder with snow but I used a retired regular folder in this card. The tag die is from the Scalloped Blooms dies and the skinny white seam binding is also retired.
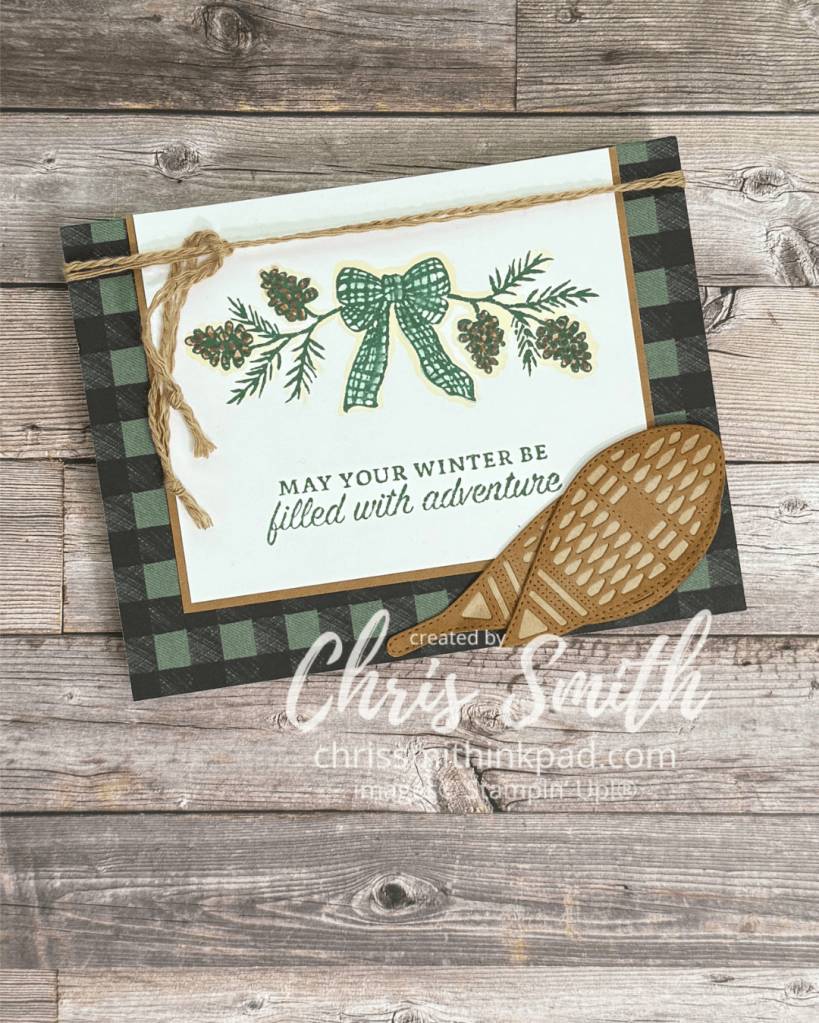
Here’s my first go round with the Winter Adventures Bundle. I thought the mix of snowshoes, a bow and greens along with the oval scene, trees and snowflake dies could be so much fun. After this one I have so many more ideas!
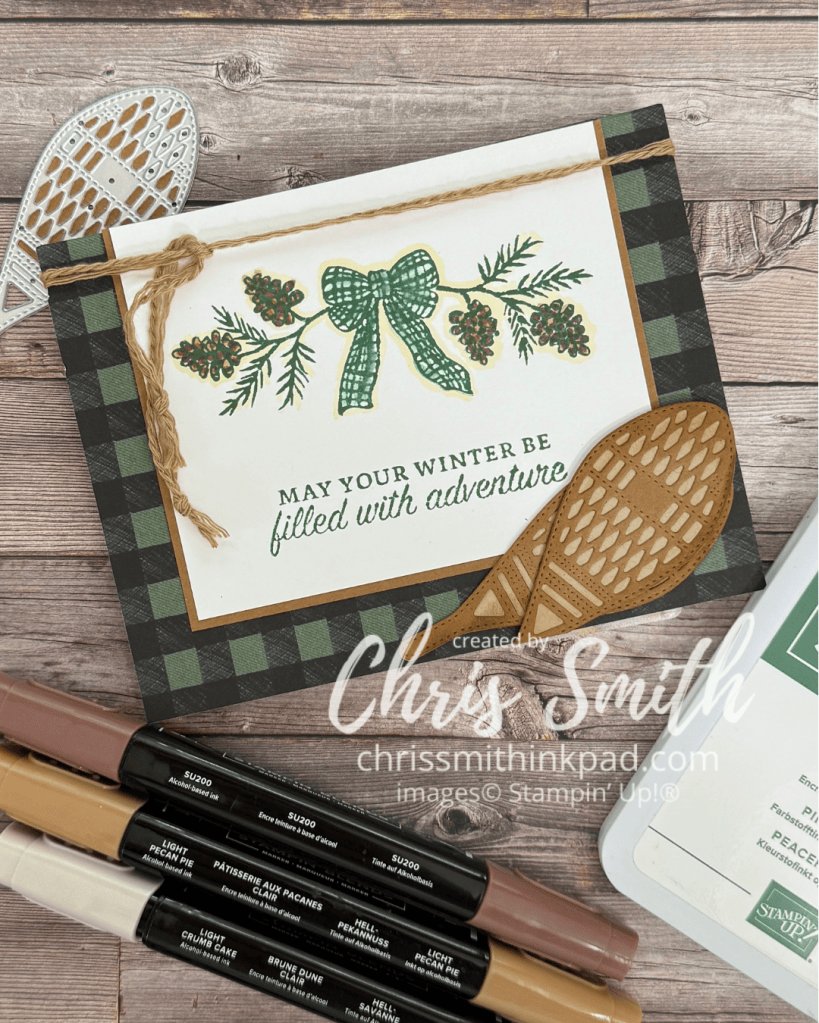
- The stamping is done on Basic White with Peaceful Pine. When stamping the pine boughs I took off some of the ink from the “stick” part of the bough so that I could stamp it closer to the tied bow. I probably could have left off even more.
- I colored the Bow by picking up a little ink from the Peaceful Pine ink pad with a blender pen and adding it to the stamped image.
- The browns shown in the photo were used on the pine cones. I softened the stamped image with a little bit of Crumb Cake outline.
- The snowshoes are die cut with Crumb Cake and Pecan Pie. The Peaceful Pine Buffalo Plaid print is from the Alpine Winter designer series paper
- I used to be a bit of a hoarder with all things Baked Brown Sugar, an In Color from several years ago. I separated some of the cording in this color and used it to add a little texture to this card.


Leave a Reply